Tired of dealing with missing shingles or old roof shingles that let water through and damage the interior of your home? It may be time for a roof replacement. And if you are a homeowner who prefers the DIY route, that means removing all the shingles from your roof deck on your own!
If this is too intimidating, reach out to a certified professional!
Butven if you choose to remove shingles by yourself, you don’t have to go through the shingle removal process on your own. We’ve got you covered!
In this comprehensive guide, we’ll walk you through the process of properly removing roof shingles from your home so that you are ready for a new roof.
Understanding Your Shingles: 3-Tab vs. Architectural
Before diving into the removal process, it’s crucial to identify the type of shingles on your roof, as this can affect the removal and replacement procedure.
🔨 3-Tab Shingles:
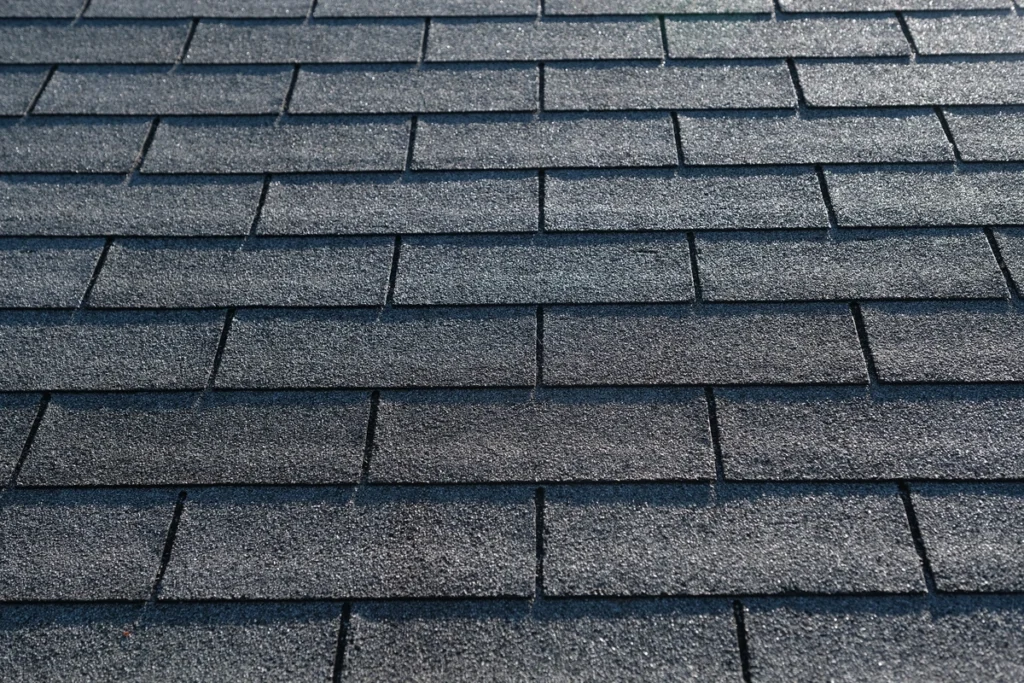
- Appearance: 3-tab shingles have a flat and uniform appearance, with three separate tabs on each strip.
- Durability: These shingles are more budget-friendly but tend to have a shorter lifespan compared to architectural shingles.
- Installation: They are relatively straightforward to install and may be suitable for DIY enthusiasts.
- Removal: 3-tab shingles are easier to remove due to their simple design.
🔨 Architectural Shingles:
- Appearance: Architectural shingles are thicker and have a more textured, layered appearance. They can mimic the look of wood or slate.
- Durability: These shingles are more durable and typically have a longer lifespan compared to 3-tab shingles.
- Installation: Installing architectural shingles requires more expertise, making professional installation more common.
- Removal: Due to their thickness and layered design, architectural shingles can be more challenging to remove.
9-Step Guide to Removing Shingles
Removing your shingles properly can help to ensure that you can preserve your roof deck and the safety of your home’s exterior. Follow these simple steps to get the best results.
⚒️ Tools and Materials You’ll Need ⚒️
- Safety gear: Safety glasses, gloves, and a hard hat.
- Roofing tools: Roofing shovel, roofing nails, hammer, and a utility knife.
- Dumpster or waste disposal container for old shingles.
- Ladder and ladder stabilizer.
- Plywood or boards for temporary roof protection (if needed).
- Replacement shingles, underlayment, and roofing nails.
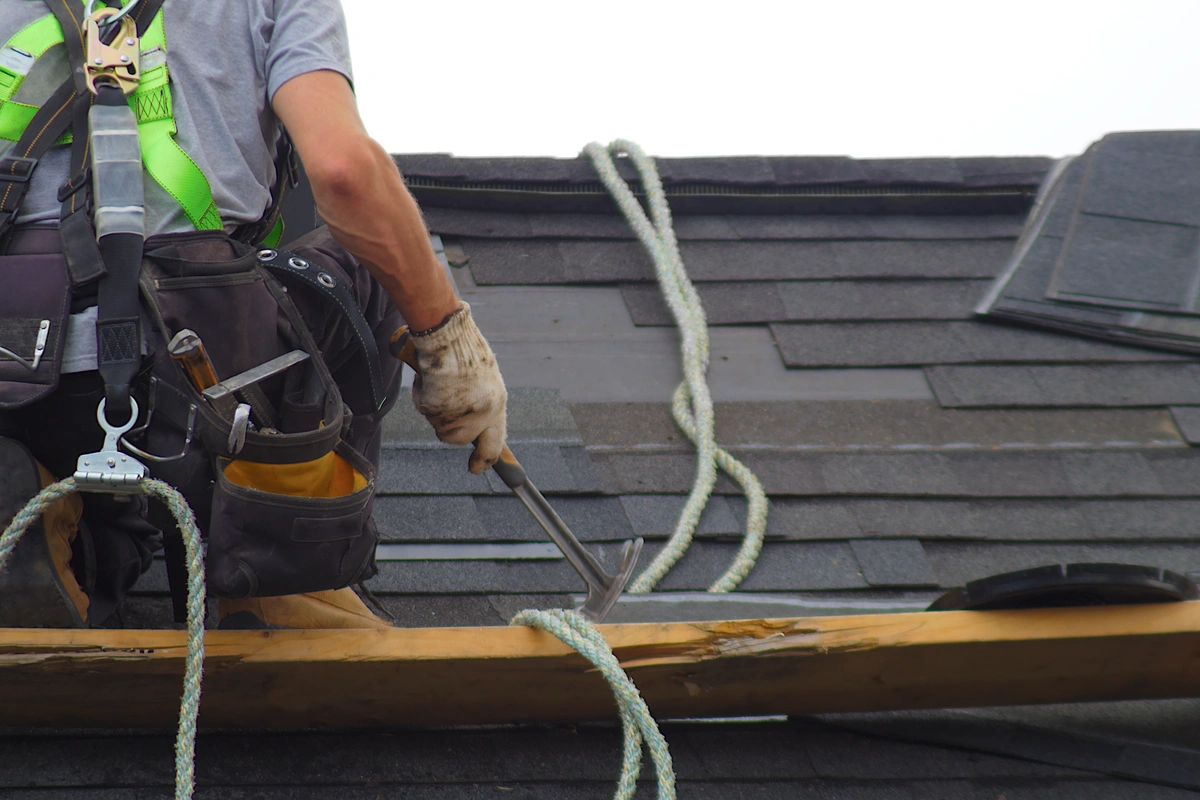
Step 1: Safety First
Safety should always be your top priority when working on your roof. Ensure you have the appropriate safety gear and make sure the weather conditions are suitable for the task. Never work on a wet or slippery roof.
Step 2: Inspect Your Roof

Before removing any shingles, inspect your roof thoroughly. Look for signs of damage, rot, or areas with missing shingles. Note any areas that may require additional repairs.
Step 3: Remove the Ridge Cap Shingles
Start by removing the ridge cap shingles along the peak of your roof. Carefully use the roofing shovel or utility knife to lift the shingles and expose the nails. Pry up the nails and remove the ridge cap shingles. Set them aside for later use.
Step 4: Remove the Shingles
Work your way down the roof, starting from the top and moving towards the eaves. Slide the roofing shovel under the shingle tabs and carefully lift them to expose the nails. Pry out the nails and remove the shingles, layer by layer. Be cautious not to damage the underlying roofing paper or decking.
Step 5: Inspect the Roof Decking
As you remove the shingles, inspect the roof decking for any signs of damage or rot. Replace any damaged sections as needed to ensure a solid foundation for the new shingles.
Step 6: Install New Underlayment (If Necessary)
Once you’ve removed all the old shingles and repaired any damaged decking, it’s a good time to install new underlayment. Follow the manufacturer’s instructions for proper installation, ensuring it covers the entire roof.
Step 7: Install New Shingles
Start at the bottom of the roof and work your way up. Install the new shingles according to the manufacturer’s guidelines and the design of your chosen shingles (3-tab or architectural). Use roofing nails to secure each shingle in place.
Step 8: Install Ridge Cap Shingles
After installing the field shingles, finish by installing the ridge cap shingles you removed earlier. These shingles help seal the roof’s peak and add an extra layer of protection.
Step 9: Clean Up and Dispose
Dispose of the old shingles properly in your dumpster or waste container. Clean up any debris from your roof and surrounding area to ensure a safe environment.
Signs It’s Time to Replace Your Roof
Knowing when to replace your roof is crucial to maintaining the integrity of your home. Here are some common signs that indicate it’s time for a roof replacement:
- Age: If your roof is over 20 years old (for asphalt shingles), it’s likely approaching the end of its lifespan.
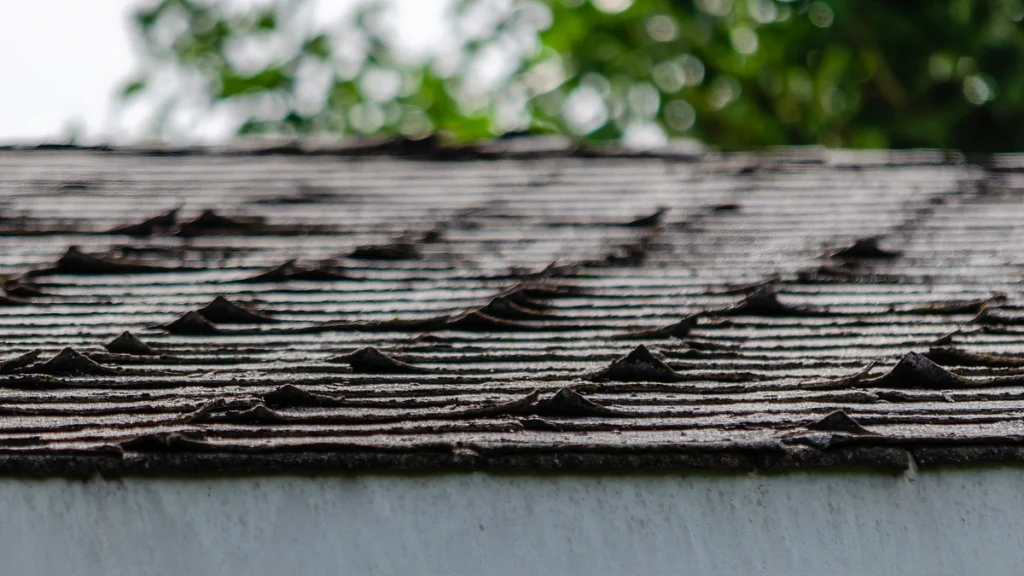
- Curling or Buckling Shingles: Shingles that are curling or buckling are no longer effective at keeping out moisture and should be replaced.
- Missing Shingles: Missing shingles can expose your roof to water damage, so they should be replaced promptly.
- Visible Damage: Cracked, torn, or damaged shingles should be replaced to prevent leaks.
- Moss or Algae Growth: Excessive moss or algae growth can indicate underlying moisture issues and may require a new roof.
- Leaks or Water Stains: If you notice water stains on your ceiling or attic, it’s a clear sign of a roof leak.
- Granule Loss: If you find an excessive amount of granules in your gutters or downspouts, it may be a sign that your shingles are deteriorating.
- Sagging Roof: A sagging roof can indicate structural damage and requires immediate attention.
When to Hire a Roofing Contractor
While some experienced homeowners may attempt a DIY roof replacement, it’s often safer and more practical to hire a professional roofing contractor, especially when dealing with architectural shingles or complex roof designs. Here are situations where it’s better to hire a roofing contractor:
- Complex Roof Structure: If your roof has multiple levels, intricate angles, or unique features, a professional contractor can navigate these challenges more effectively.
- Safety Concerns: Working on a roof can be dangerous, especially for those without proper training or equipment. Roofing contractors are trained to work safely at heights.
- Time and Expertise: Roof replacement is a time-consuming project, and a contractor can complete it more efficiently due to their experience and access to a crew.
- Warranty and Quality Assurance: Many roofing contractors offer warranties on their work, giving you peace of mind knowing that your new roof is guaranteed.
- Materials and Equipment: Roofing contractors have access to high-quality materials and the right equipment, ensuring a professional finish.
- Local Building Codes: Contractors are familiar with local building codes and will ensure your roof meets all necessary requirements.
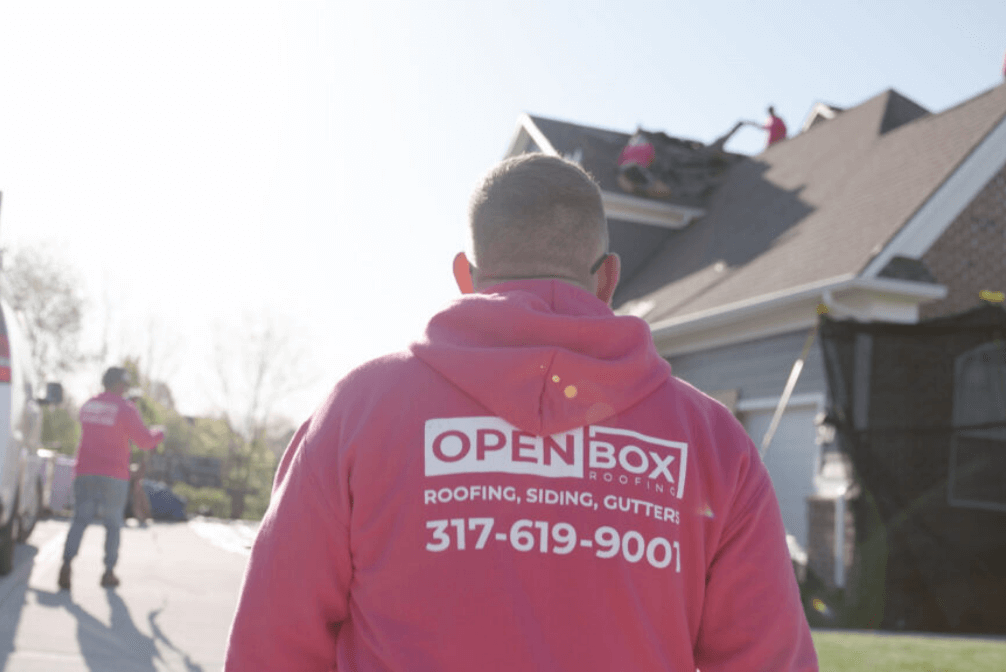
Expert Assistance for Your Roof Installation
Removing shingles from your home is a meticulous process that requires careful planning, the right tools, and a keen eye for detail. If you don’t have the time or energy to do it by yourself, call on OpenBox Roofing. Not only will we safely remove your shingles, but we can also help you understand all of your options when it comes to roof removal and replacement. Contact us today to receive your free estimate!