When it comes to maintaining a healthy roof and home environment, few elements are as crucial yet often overlooked as proper roof ventilation.
Your roof isn’t just a protective barrier against the elements; it’s a dynamic system that requires adequate airflow to function optimally. But what is a roof vent, and which style is right for you? In this guide, we’ll delve into the world of roof vents:
- What they are
- Why they matter
- How to recognize signs of poor ventilation
- The various styles available
- Tips for choosing the right one for your home
- The costs associated with roof vent installation
Keep reading to learn how to protect your home with roof vent installation!
What is a Roof Vent?

A roof vent is a vital component of your home’s roofing system designed to facilitate proper air circulation within the attic space. It allows warm, moist air to escape from the attic while drawing in cooler, drier air from the outside. This exchange helps regulate temperature and humidity levels, preventing issues like moisture buildup, mold growth, and excessive heat accumulation, which can damage roofing materials and compromise indoor air quality.
Why Roof Ventilation Matters
Proper roof ventilation offers a plethora of benefits that extend beyond preserving the structural integrity of your home. Here are a few compelling reasons why it’s essential:
- Moisture Control: Effective ventilation helps prevent moisture buildup in the attic, reducing the risk of mold, mildew, and rot.
- Energy Efficiency: By regulating attic temperature, roof vents can lower the demand on your HVAC system, leading to energy savings and reduced utility bills.
- Extended Roof Lifespan: Adequate airflow helps prevent shingle damage and premature deterioration by minimizing temperature fluctuations and moisture-related issues.
- Enhanced Indoor Comfort: Balanced ventilation promotes a more comfortable indoor environment by preventing hot spots and improving overall air quality.
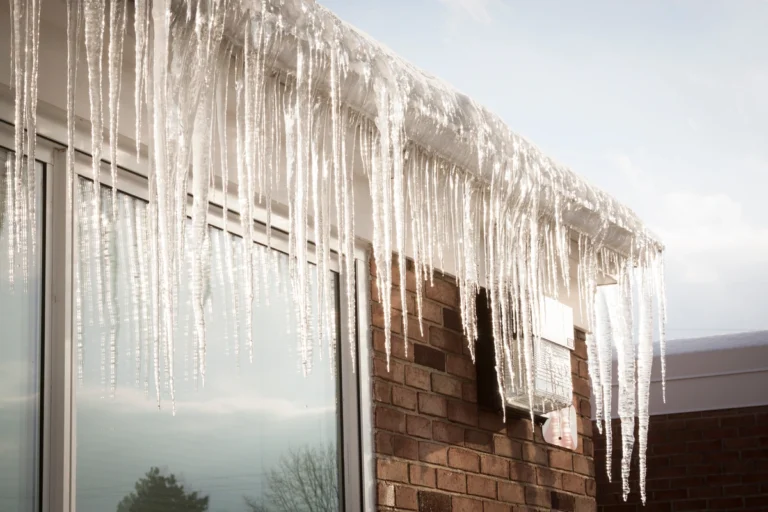
Signs of Poorly Ventilated Roof
Identifying signs of inadequate roof ventilation is crucial for addressing potential issues before they escalate. Keep an eye out for the following red flags:
- Excessive Heat in Attic: If your attic feels excessively hot, especially during warmer months, it’s a clear indication of insufficient ventilation.
- Condensation or Frost Buildup: Moisture accumulation on attic surfaces or frost formation during colder seasons signals poor airflow and potential moisture-related problems.
- Mold or Mildew Growth: The presence of mold or mildew in the attic indicates excess moisture, often caused by inadequate ventilation.
- Roof Damage: Shingle curling, warping, or premature deterioration can result from prolonged exposure to heat and moisture due to poor ventilation.
5 Different Styles of Roof Vents
Roof vents come in various styles, each offering unique features and installation requirements. Here are some common types:
1) Ridge Vents:
Installed along the peak of the roof, ridge vents provide continuous airflow across the entire attic space, making them highly efficient and aesthetically pleasing.
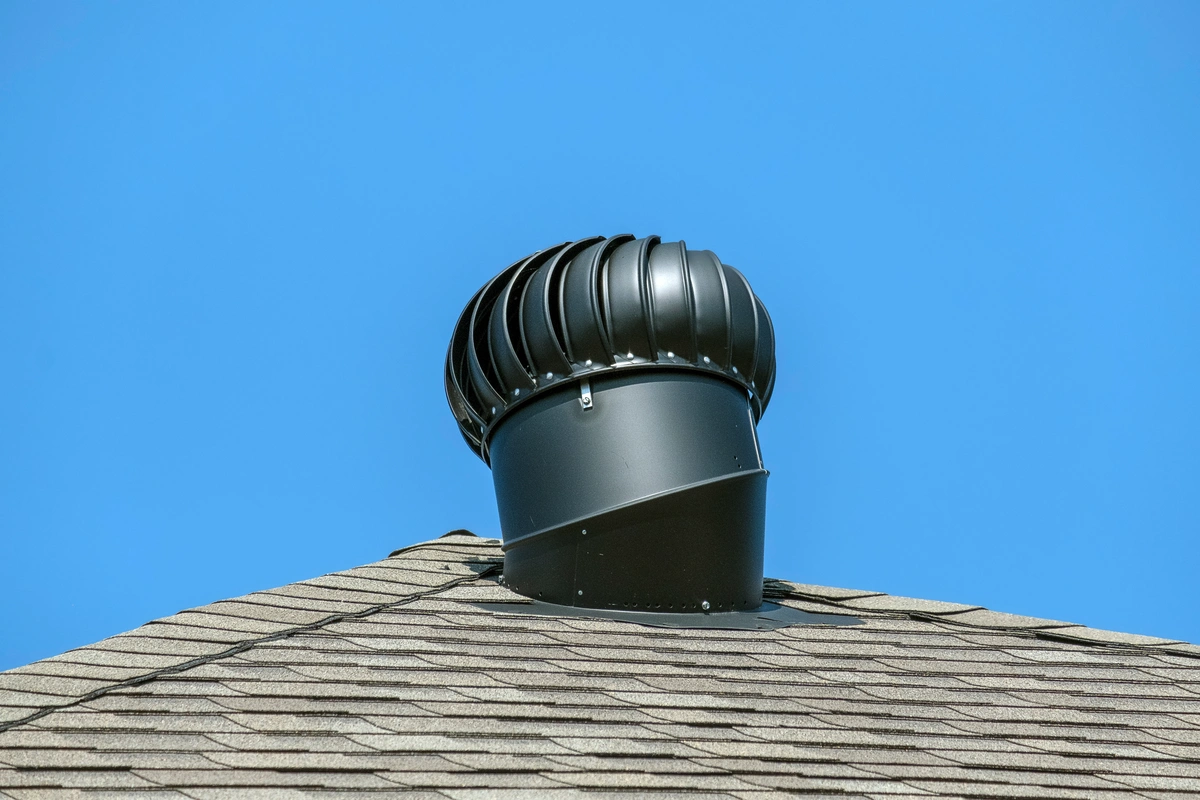
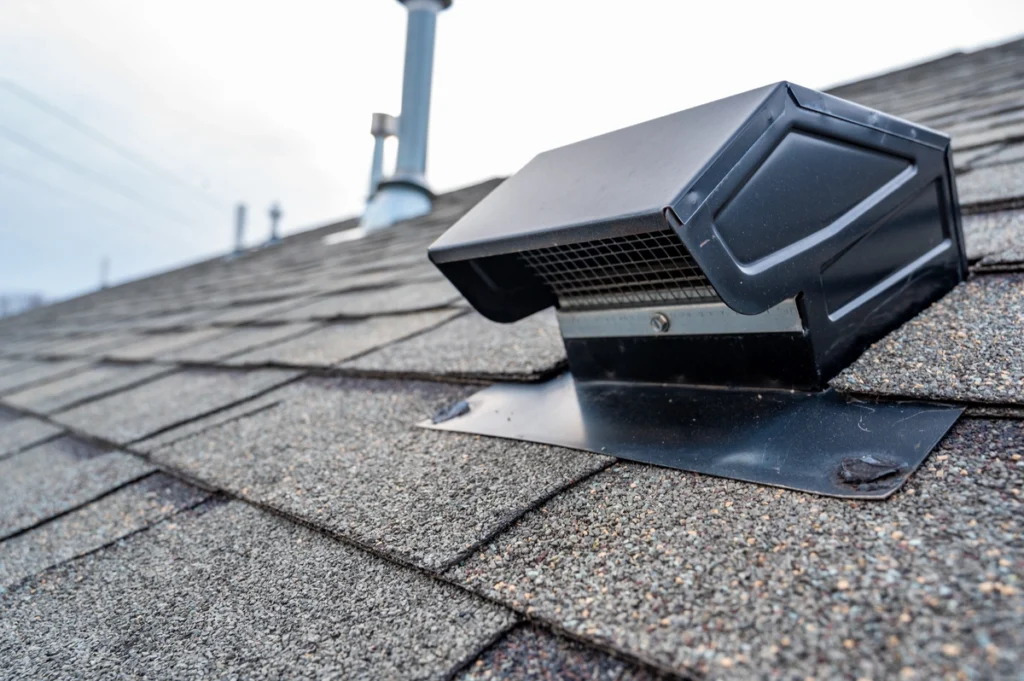
2) Static Vents:
These non-mechanical vents come in different shapes, such as box, slant-back, or turbine, and rely on natural convection to expel hot air from the attic.
3) Powered Vents:
Equipped with electric fans, powered vents actively draw air out of the attic, making them ideal for homes with limited natural ventilation or specific airflow challenges.
4) Gable Vents:
Positioned near the roof’s gables, these vents facilitate air exchange but may be less effective than other options, particularly in windy conditions.
5) Soffit Vents:
Installed under the eaves, soffit vents allow fresh air to enter the attic, creating a balanced airflow system when combined with exhaust vents like ridge or gable vents.
Choosing the Right Roof Vent for Your Home
Selecting the appropriate roof vent involves considering various factors, including your roof’s design, climate, attic size, and ventilation requirements. Here’s a step-by-step guide to help you make an informed decision:
- Assess Your Attic: Start by evaluating your attic space to determine its size, layout, and existing ventilation components. Consider factors such as insulation levels and potential obstructions that may impact airflow.
- Research Ventilation Options: Familiarize yourself with the different types of roof vents available, their features, and installation requirements. Take into account your roof’s pitch, material, and architectural style when selecting a suitable vent style.
- Calculate Ventilation Requirements: Use industry guidelines or consult with a roofing professional to calculate the optimal ventilation capacity for your attic based on its square footage and the climate zone you reside in.
- Consider Additional Features: Depending on your preferences and budget, explore additional features such as integrated screens for pest prevention, weather-resistant materials, or energy-efficient designs.
- Consult with Experts: If you’re uncertain about which roof vent is best suited for your home, seek advice from experienced roofing contractors or ventilation specialists who can provide personalized recommendations based on your specific needs.
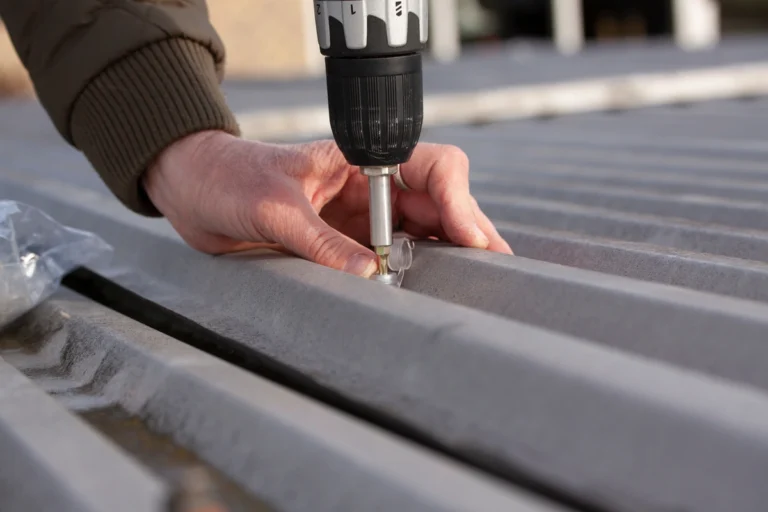
Installing a Roof Vent: A 7 Step Guide
While installing roof vents is typically a job best left to experienced professionals, understanding the basic process can help you appreciate the intricacies involved and ensure that the installation is done correctly. Here’s a simplified guide to installing a roof vent:
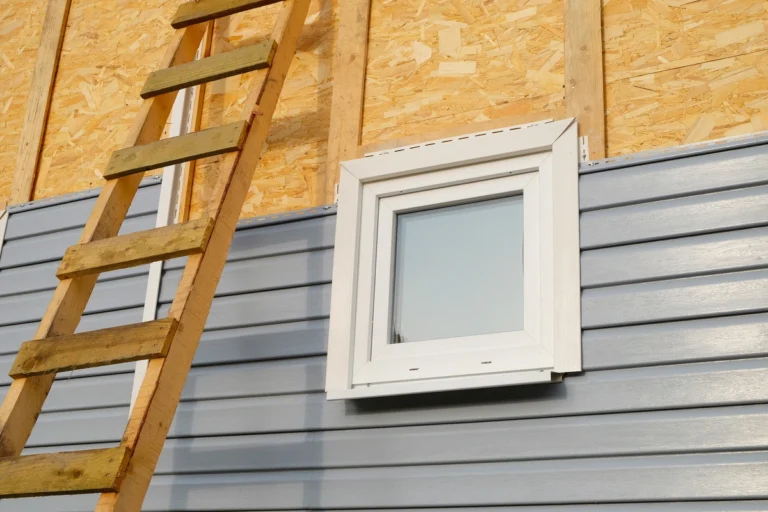
1) Choose the Right Location:
Determine the optimal placement for your roof vent based on attic size, roof pitch, and ventilation requirements. Ideally, vents should be installed near the roof’s peak to facilitate efficient airflow.
2) Prepare the Roof Surface:
Clear any debris or obstructions from the area where the vent will be installed. If necessary, remove shingles or roofing material to create a flat, stable surface for mounting the vent.
3) Mark and Cut an Opening:
Using appropriate measurements and guidelines provided with the vent, mark the outline of the vent’s opening on the roof surface. Carefully cut out the marked area using a saw or rotary tool, taking care to avoid damaging surrounding roofing materials.
4) Install the Vent:
Position the vent over the opening and secure it in place using roofing nails or screws, ensuring a snug fit and proper alignment with the roof surface. Apply roofing sealant around the edges of the vent to create a watertight seal and prevent leaks.
5) Connect and Seal:
If your vent requires additional components such as flashing or ductwork, follow manufacturer instructions to securely attach and seal these elements to ensure proper functionality and weather resistance.
6) Test and Inspect:
Once the vent is installed, conduct a visual inspection to ensure it is securely fastened and sealed. Test the vent by running a smoke or airflow test to verify proper ventilation and address any issues promptly.
7) Finalize Roofing:
Replace any removed shingles or roofing material around the vent opening, ensuring that they are properly aligned and secured to maintain the integrity of the roof’s protective barrier.
While DIY installation may be feasible for some homeowners, it’s essential to prioritize safety and quality to avoid potential damage or improper ventilation. When in doubt, consult with roofing professionals or ventilation experts who can provide guidance and ensure that your roof vent is installed correctly for optimal performance and longevity.
Cost of Roof Vent Installation
The cost of installing roof vents varies depending on several factors, including the type of vent selected, the complexity of the installation, and labor costs in your area. Here’s a breakdown of potential expenses:
Ventilation Products:
The price of roof vents can range from $10 to $200 or more per unit, depending on the style, material, and brand. Higher-quality vents may come with a higher upfront cost but offer better durability and performance.
Labor Costs:
Professional installation typically incurs labor fees ranging from $300 to $1,500 or more, depending on the number of vents, roof complexity, and accessibility. Complex installations or roof modifications may require additional labor and incur higher costs.
Additional Materials:
In some cases, additional materials such as flashing, sealants, or ventilation baffles may be necessary to ensure proper installation and functionality, adding to the overall project cost.
Permitting and Inspection Fees:
Depending on local building codes and regulations, you may need to obtain permits for roof vent installation, which can incur additional fees. Factor in any inspection costs required to ensure compliance with safety and building standards.
Proper Roof Vent Installation For Your Home
Investing in proper roof ventilation is a proactive measure that can safeguard your home against a myriad of issues while promoting a healthier, more comfortable living environment. By understanding the importance of roof vents, recognizing signs of poor ventilation, exploring different styles, and making informed decisions based on your home’s unique needs and budget, you can ensure optimal airflow and long-term protection for your roof and attic space.
Whether you’re considering a simple upgrade or a comprehensive ventilation overhaul, consulting with roofing professionals and adhering to best practices will help you achieve optimal results and maximize the benefits of a well-ventilated roof. Contact Open Box Roofing to install a roof vent in your home.