A sturdy roof is key to the health and longevity of our homes, shielding us from weather and the harsh elements. Yet, even the best roofs can succumb to wear and tear over time. One common culprit is damaged roof flashing. If you’re not even sure what roof flashing is, you’re not alone.
In this expert guide, we’ll delve into the nitty-gritty of roof flashing repair, covering:
- Its significance and types to
- Signs of damage
- DIY repair methods
- When to call in the pros
- The associated costs
What is Roof Flashing?
Roof flashing is a vital component of any roofing system, serving as a protective barrier against water penetration in vulnerable areas where different sections of the roof meet, such as around chimneys, vents, skylights, and dormers. Essentially, it acts as a waterproof sealant, preventing water from seeping into the roof’s underlayers and causing damage to the structure or interior spaces.
Different Types of Roof Flashing
Roof flashing comes in a variety of forms, including:
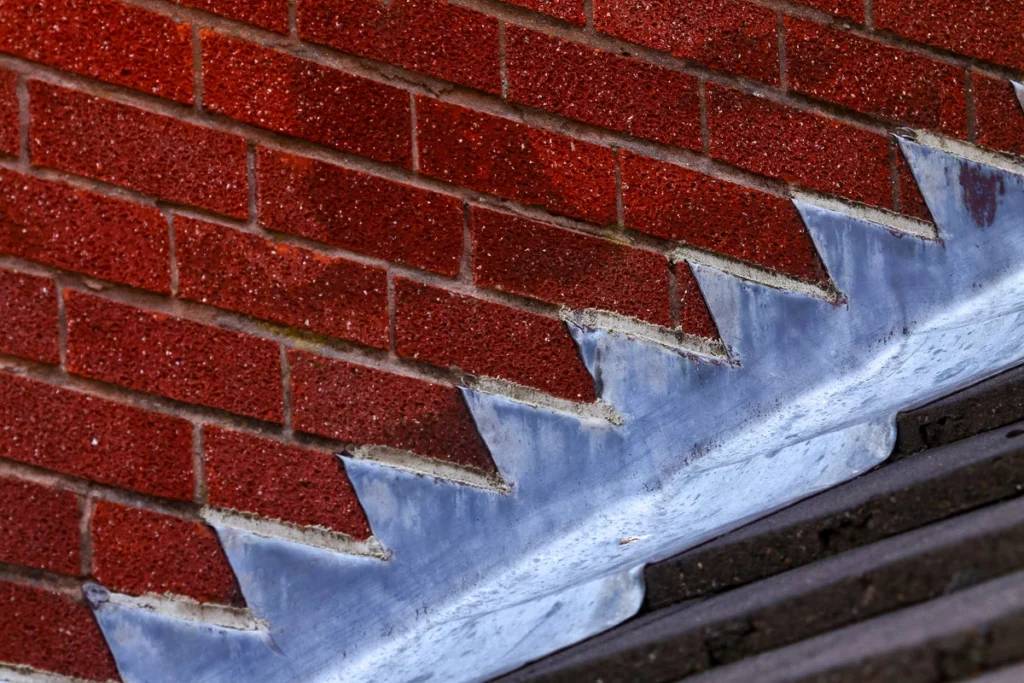
- Step Flashing: Commonly used around sloped areas such as chimneys and dormers, step flashing consists of small, L-shaped metal pieces installed in a step-like fashion to create a watertight barrier.
- Continuous Flashing: Typically made of metal or rubber, continuous flashing is used in straight runs along roof edges, valleys, and transitions to provide uninterrupted protection against water infiltration.
- Vent Pipe Flashing: As the name suggests, this type of flashing is designed to seal around vent pipes protruding through the roof, ensuring a tight seal against water intrusion.
- Valley Flashing: Installed in roof valleys where two sections of the roof meet, valley flashing directs water away from the seam, preventing pooling and potential leaks.
Signs of Flashing Damage
Detecting damage to roof flashing early on can help prevent more extensive issues down the line. Look out for the following signs:
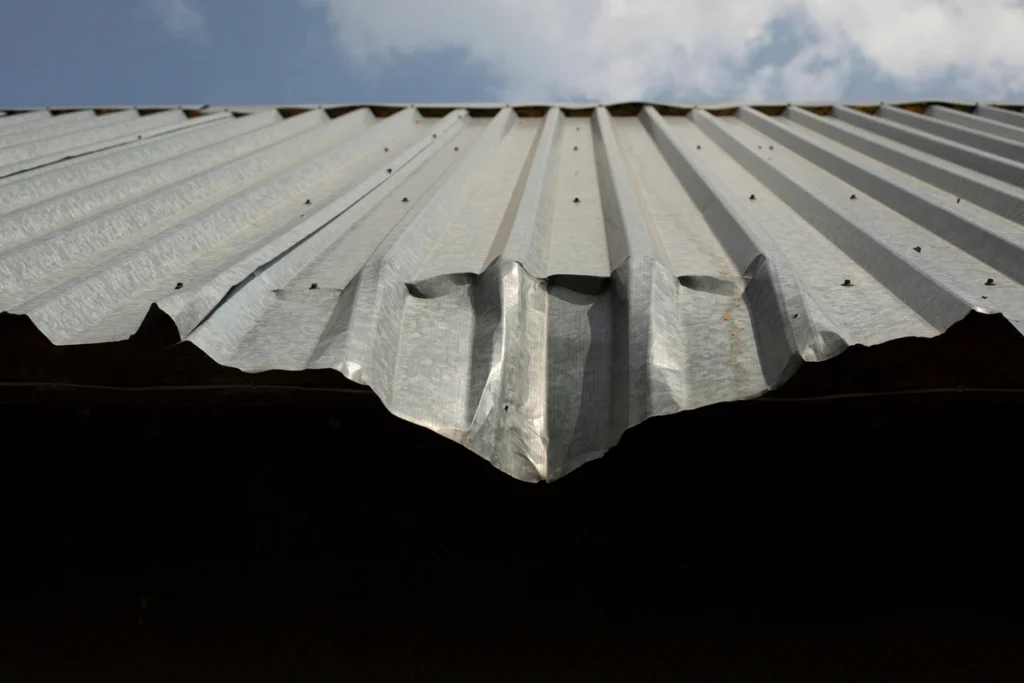
- Visible Rust or Corrosion: Metal flashing may develop rust or corrosion over time, compromising its effectiveness.
- Loose or Missing Flashing: If flashing is loose or missing altogether, it leaves vulnerable areas exposed to water infiltration.
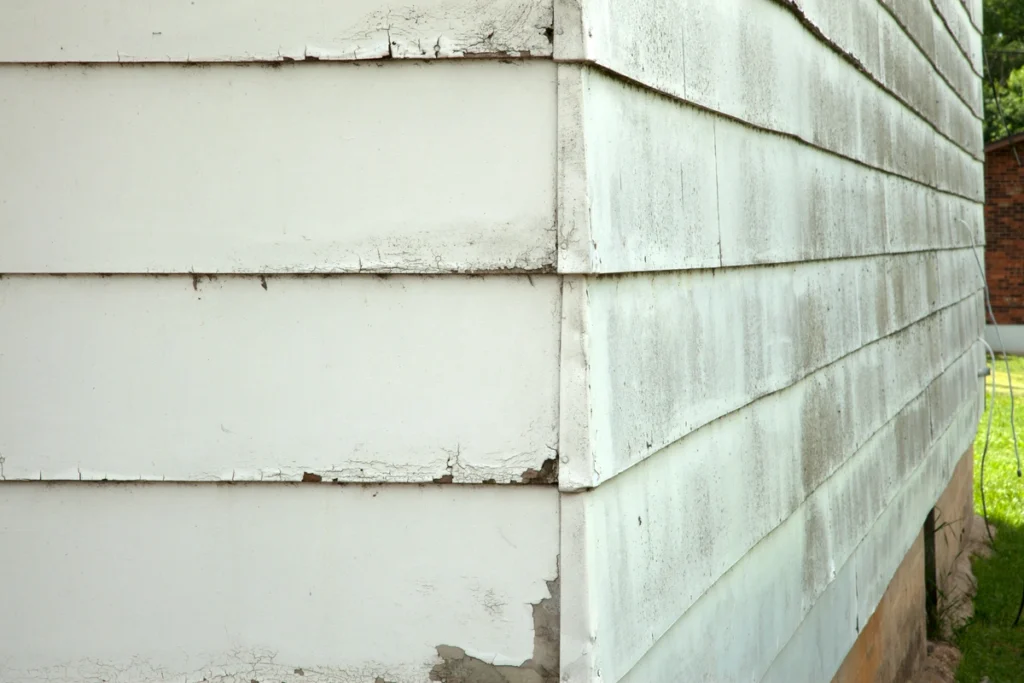
- Water Stains on Ceilings or Walls: Water stains indoors often indicate a leak, which could be caused by damaged flashing.
- Damaged Sealant: Cracked or deteriorated sealant around flashing joints can allow water to penetrate the roof.
How to Repair Roof Flashing in 7 Steps
Repairing roof flashing can be challenging, but it isn’t impossible! Here are the steps to follow if you are looking to tackle your flashing repair on your own!
1) Gather Materials:
You’ll need replacement flashing (if damaged), roofing cement, caulking gun, roofing nails, and a pry bar.
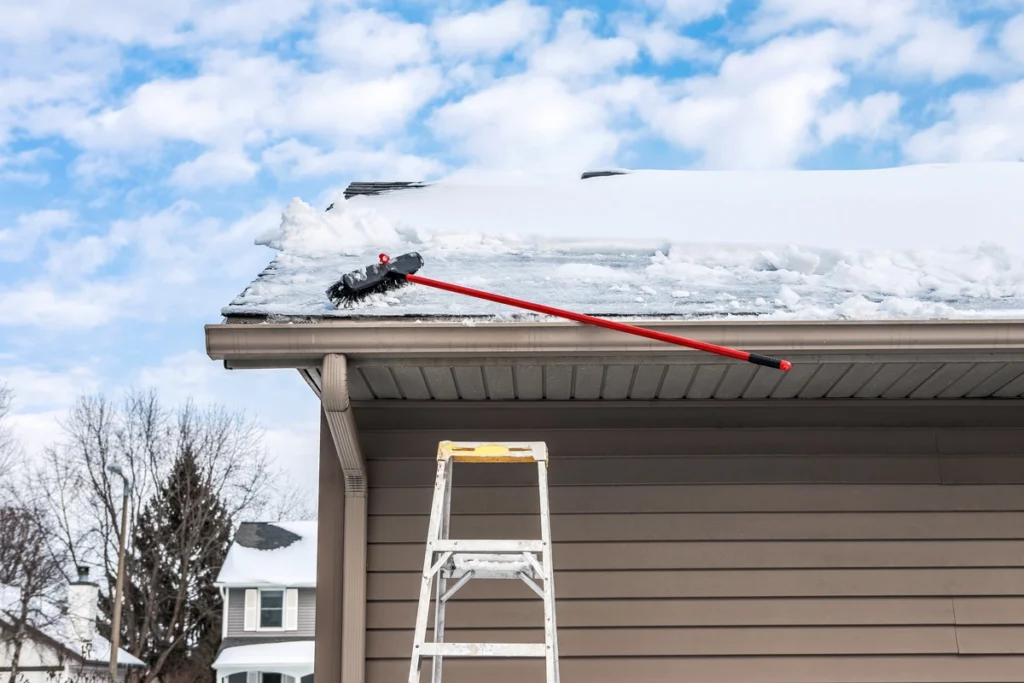
2) Safety First:
Ensure proper safety measures, including using a sturdy ladder and wearing appropriate protective gear.
3) Remove Old Flashing:
Carefully pry away old flashing using a pry bar, taking care not to damage surrounding roofing materials.
4) Clean the Area:
Remove debris and clean the area thoroughly to ensure proper adhesion of new flashing.
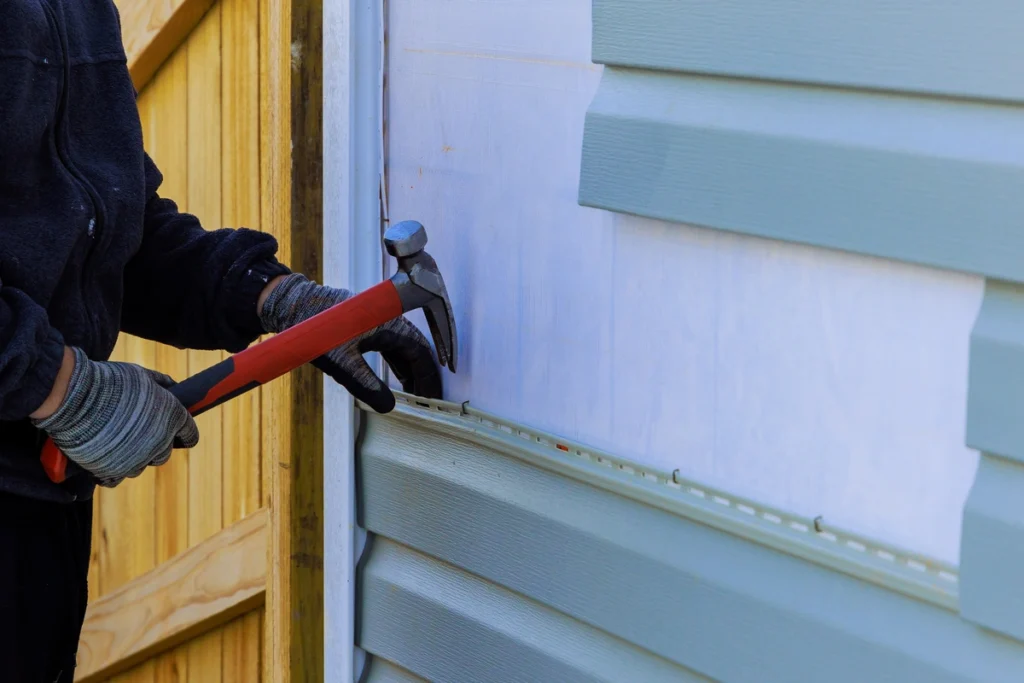
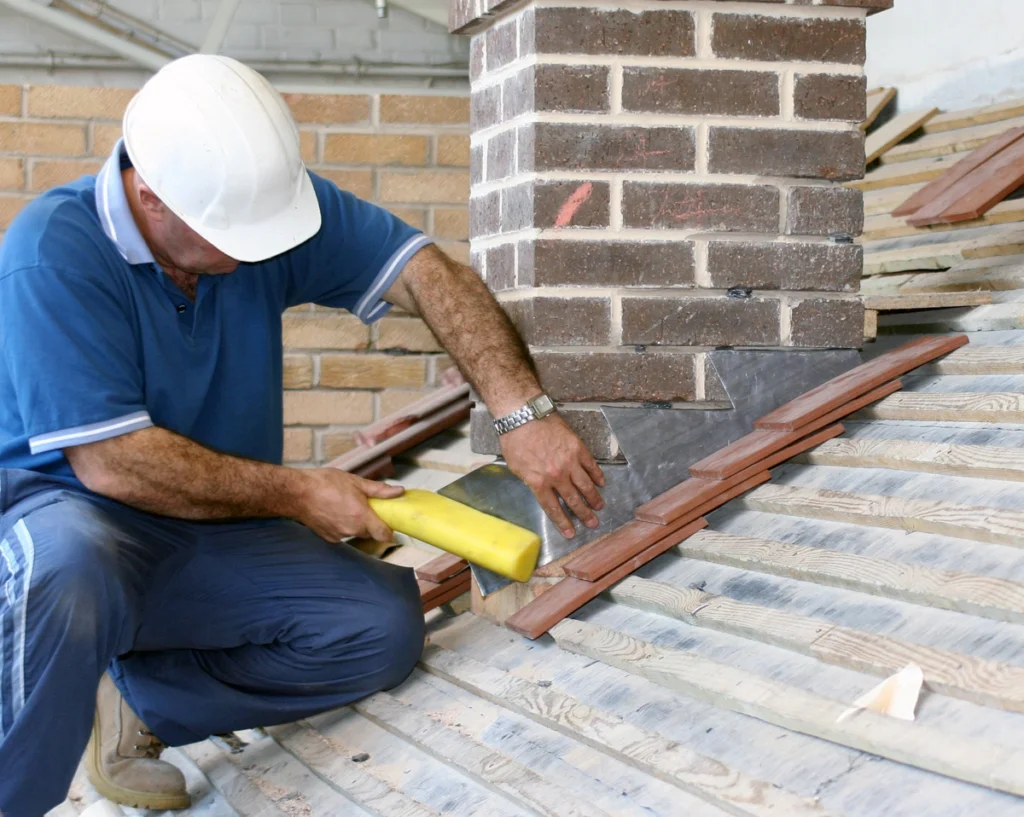
5) Install New Flashing:
Cut replacement flashing to size and secure it in place using roofing nails, ensuring a snug fit.
6) Apply Roofing Cement:
Seal the edges and seams of the flashing with roofing cement to provide additional protection against water infiltration.
7) Inspect and Test:
Once the repair is complete, inspect the area for any gaps or loose components, and perform a water test to ensure the repair is watertight.
When to Seek Professional Help
While minor flashing repairs can often be tackled as a DIY project, certain situations may warrant professional intervention:
- Extensive damage requiring the replacement of large sections of flashing.
- Roof flashing located in precarious or hard-to-reach areas, such as steeply sloped roofs or high chimneys.
- Lack of experience or confidence in performing roofing repairs safely and effectively.
The Cost of Repairing Roof Flashing
The cost of repairing roof flashing can vary depending on factors such as the extent of damage, type of flashing material, and labor costs in your area. On average, homeowners can expect to pay anywhere from $200 to $600 for minor flashing repairs performed by a professional contractor. However, more extensive repairs or replacements may cost upwards of $1,000 or more.
Replace Roof Flashing Like a Pro
Maintaining the integrity of roof flashing is essential for preserving the longevity and structural integrity of your roof. By understanding the importance of roof flashing, recognizing signs of damage, and knowing when to tackle repairs yourself or seek professional assistance, you can ensure that your home remains well-protected against the elements for years to come. Whether it’s a minor repair or a full-scale replacement, investing in proper roof flashing maintenance is a worthwhile endeavor that pays dividends in safeguarding your home’s comfort and security.
At Open Box Roofing, we can help talk you through your options when it comes to roof flashing materials, while also providing excellent repairs. Contact us today to learn more!