Water-damaged siding can be a nightmare for homeowners, but with the right knowledge and tools, you can tackle this common problem head-on.
Want to learn how to repair water damaged siding? Today’s guide is designed to walk you through everything you need to know about:
- Identifying
- Repairing
- Preventing water damage to your home’s siding
Whether you’re a seasoned DIY enthusiast or a first-time homeowner, this guide will equip you with the skills required to keep your siding in top shape.
Learning About Your Water-Damaged Siding
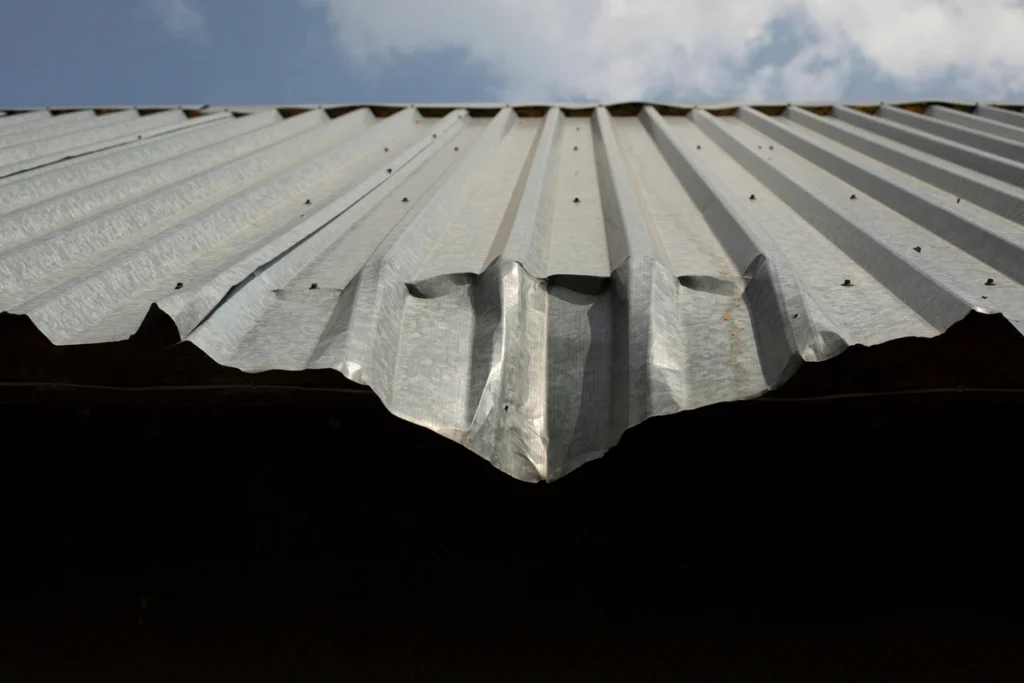
Water damage is one of the most prevalent issues affecting home exteriors. When siding is compromised by moisture, it can lead to a host of problems, including mold growth, wood rot, and structural damage. Left unchecked, these issues can escalate, posing significant risks to your home’s integrity and value.
Signs of Water-Damaged Siding
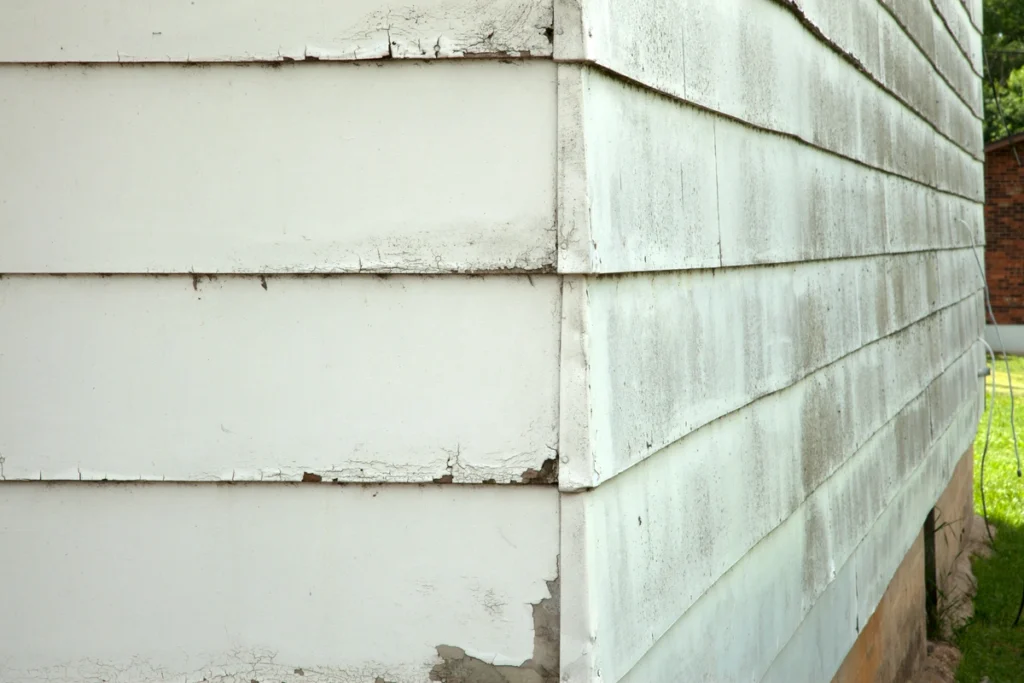
Before you can repair water-damaged siding, you need to know what to look for. Here are some common signs:
- Warped or Buckled Panels: Moisture can cause siding materials to warp or buckle.
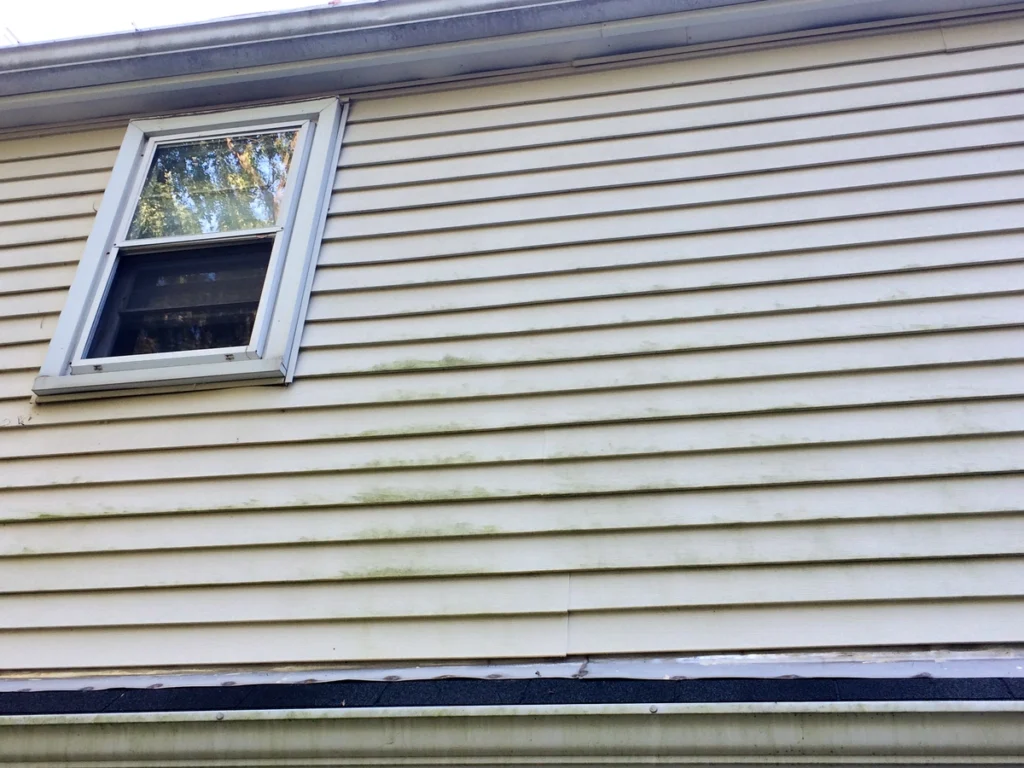
- Discoloration: Stains or discoloration, especially around seams or joints, often indicate water infiltration.
- Soft or Crumbling Wood: If you have wood siding, feel for soft spots or crumbling sections, which are telltale signs of rot.
- Peeling Paint: Paint that’s bubbling or peeling away from the siding can be a sign of underlying water issues.
- Mold or Mildew: The presence of mold or mildew on or near siding is a strong indicator of moisture problems.
Why It’s Important to Address Water Damage Promptly
Ignoring water damage can lead to more severe problems down the road. Here’s why timely repairs are crucial:
- Prevent Structural Damage: Water can seep into your home’s framework, causing significant structural issues over time.
- Avoid Mold and Mildew: Mold and mildew not only damage your home but can also pose health risks to your family.
- Maintain Curb Appeal: Damaged siding diminishes your home’s aesthetic appeal, impacting its overall value.
- Cost Savings: Addressing small issues early can prevent costly repairs in the future.
Tools and Materials You’ll Need
Before you start, gather all necessary tools and materials. Here’s a checklist to ensure you’re prepared:
Tools
- Pry bar
- Hammer
- Utility knife
- Circular saw
- Tape measure
- Level
- Caulking gun
- Paintbrush
- Safety gear (gloves, goggles, mask)
Materials
- Replacement siding panels
- Nails or screws
- Waterproof barrier (house wrap)
- Caulk
- Paint or stain (if applicable)
- Wood filler (for minor wood repairs)
- Primer (for wood siding)
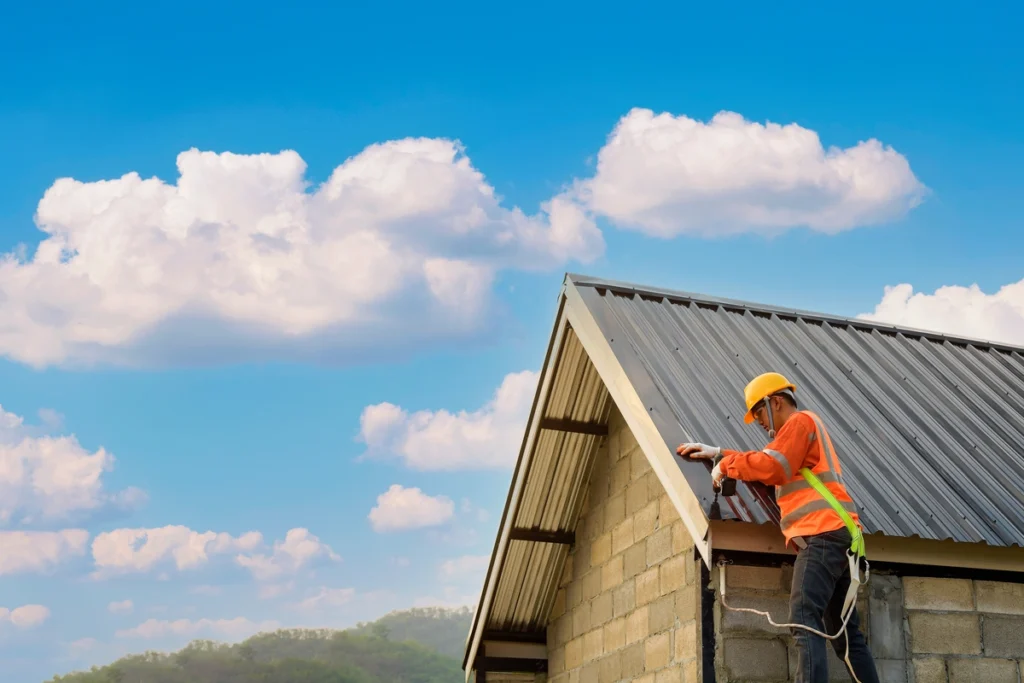
8 Step Guide to Repairing Water-Damaged Siding

Take care of your siding the way the pros do, by following these simple 8 steps
Step 1: Inspect the Damage
Begin by thoroughly inspecting the affected area. Assess the extent of the damage to determine whether you need to replace just a few panels or an entire section of siding.
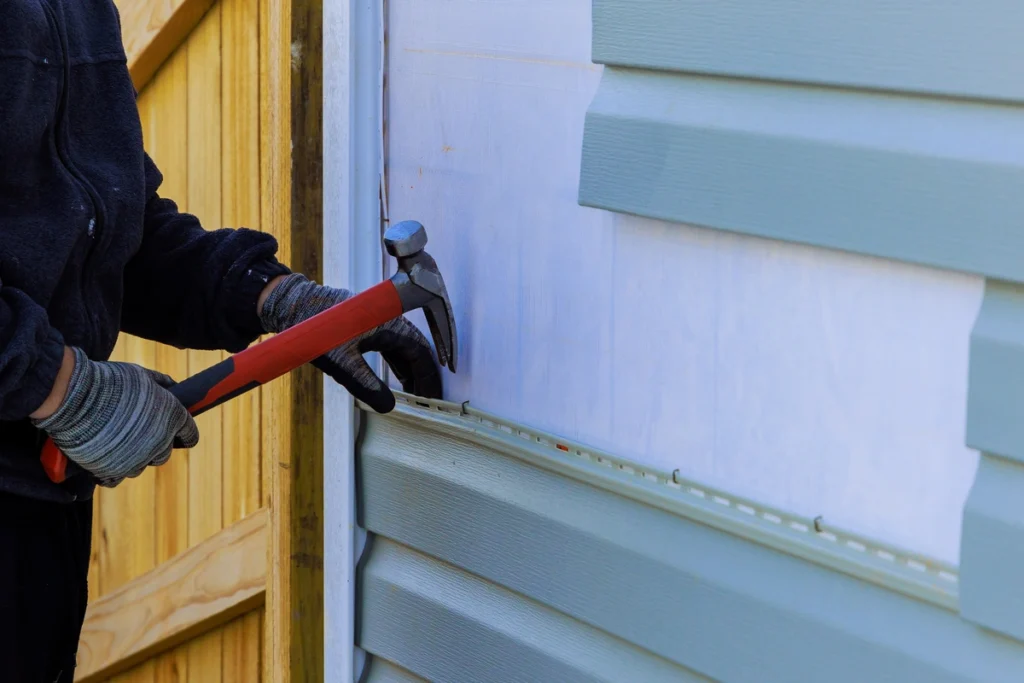
Step 2: Remove the Damaged Siding
Carefully remove the damaged siding panels. Use a pry bar to gently lift the panels away from the wall. If the siding is nailed, a hammer may be needed to remove the nails. Be cautious not to damage the surrounding panels.
Step 3: Inspect and Repair the Underlying Structure
Once the damaged siding is removed, inspect the underlying structure for any signs of water damage. Look for rot, mold, or mildew. If you find any, you’ll need to address these issues before proceeding. This may involve replacing damaged sheathing or treating moldy areas with a suitable cleaner.
Step 4: Install a Waterproof Barrier
To prevent future water damage, install a waterproof barrier such as house wrap over the exposed sheathing. This barrier will help protect your home’s structure from moisture infiltration.
Step 5: Cut and Fit Replacement Siding
Measure the area where the new siding will be installed. Use a circular saw to cut the replacement siding panels to the correct size. Ensure that the panels fit snugly but allow for a small gap to accommodate expansion and contraction.
Step 6: Secure the New Siding
Position the new siding panels in place and secure them using nails or screws. Ensure that the fasteners are properly driven into the studs for a secure hold. Use a level to ensure the panels are straight and even.
Step 7: Seal the Joints
Apply a bead of caulk along the seams and joints of the new siding. This will help prevent moisture from seeping behind the panels. Smooth the caulk with a caulking tool or your finger for a clean finish.
Step 8: Paint or Stain (if applicable)
If your siding requires painting or staining, apply a coat of primer first (for wood siding). Once the primer is dry, apply the paint or stain according to the manufacturer’s instructions. This will provide an additional layer of protection against the elements.
Preventing Future Water Damage
Now that you’ve repaired your siding, it’s essential to take steps to prevent future water damage. Here are some tips:
Regular Inspections
Conduct regular inspections of your siding, especially after severe weather. Look for any signs of damage or wear and address them promptly.
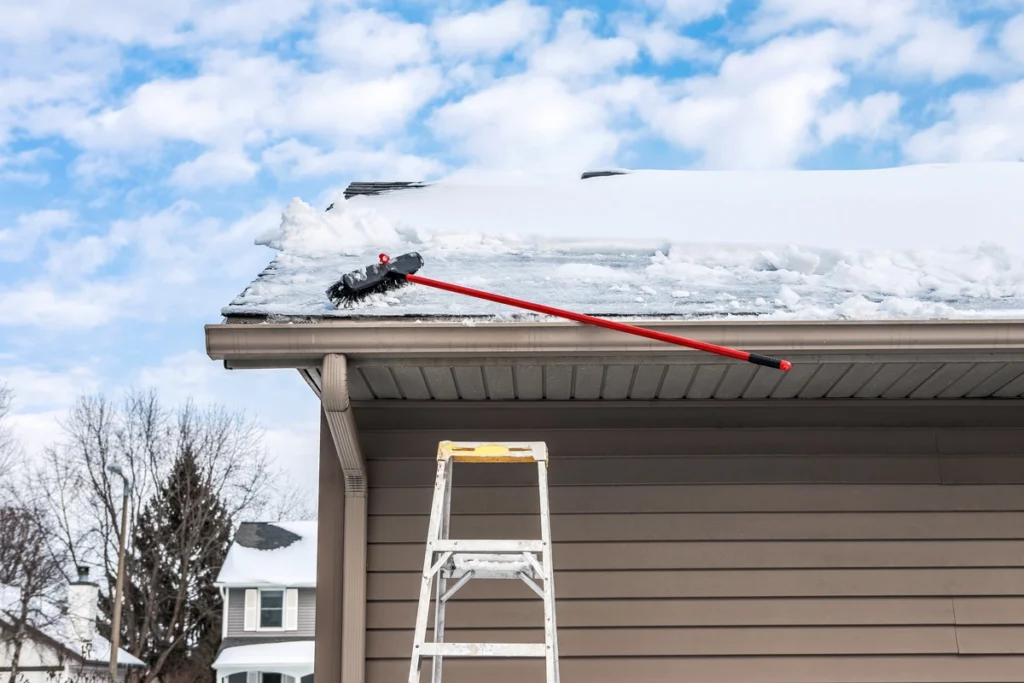
Maintain Gutters and Downspouts
Ensure that your gutters and downspouts are clean and functioning correctly. Properly directing water away from your home’s foundation will help prevent moisture buildup.
Trim Vegetation
Keep trees, shrubs, and other vegetation trimmed away from your siding. Overhanging branches can trap moisture against your home’s exterior, leading to potential damage.
Proper Ventilation
Ensure your home has proper ventilation to reduce humidity levels. This includes attic vents, soffit vents, and proper bathroom and kitchen exhaust fans.
Addressing Leaks
If you notice any leaks in your home’s exterior, such as around windows or doors, address them immediately. Applying caulk or weatherstripping can help seal gaps and prevent water infiltration.
Your Local Siding Experts
Repairing water-damaged siding is a critical task that every homeowner should be prepared to tackle. Timely repairs not only maintain your home’s structural integrity but also preserve its beauty and value. And with regular maintenance and preventive measures, you can keep your siding looking great for years to come.
However, sometimes the best thing you can do for your home’s exterior is to call on the help of an experienced professional. Contact Open Box Roofing to get the siding expertise you deserve!