An inevitable milestone that every homeowner will reach is the need to replace their roof. We might all go through it, but it doesn’t mean that it is easy to deal with. After all, roof replacements can be:
- Costly
- Time-consuming
- Messy
On top of that, just because you are ready to replace your roof doesn’t mean that a roofing contractor will be available, particularly during the busy season. If you are a handy homeowner, you may be considering just taking the project on by yourself!
However, you need to know more than how to properly install the roof…you also need to learn how to remove it!
In this blog post, we will provide you with a step-by-step guide on how to remove shingles, discuss the necessary equipment, address the signs for roof replacement, and advise on when it’s best to hire a professional.
What Equipment Is Needed
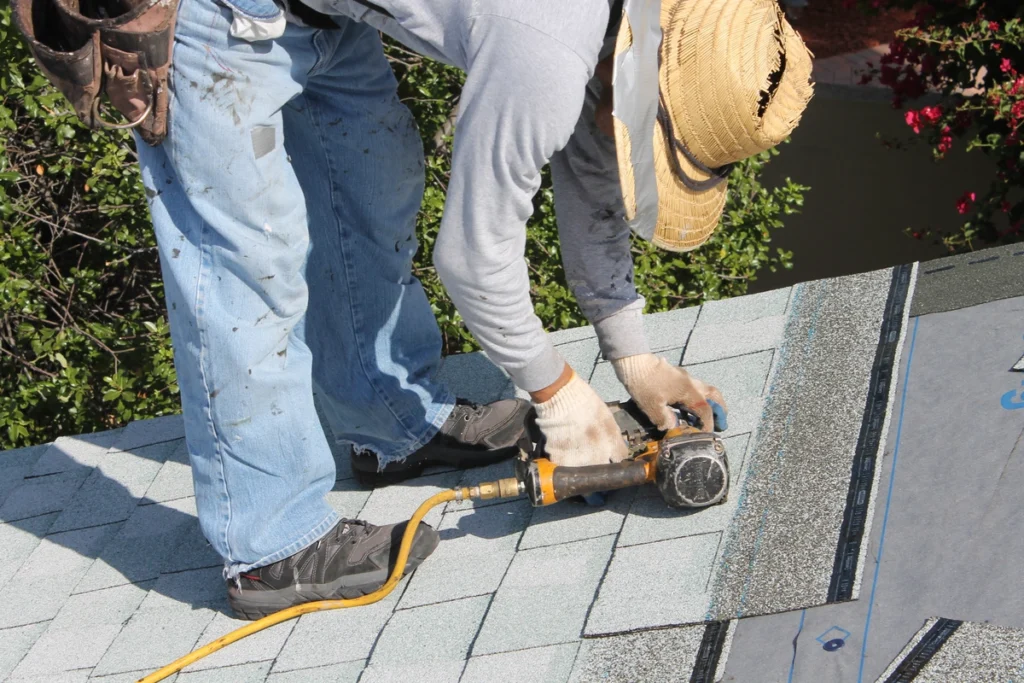
They say a master is only as good as their tools. The same goes for DIY roofing projects! Before diving into the process of shingle removal, it’s important to gather the necessary equipment. Here are the tools you’ll need:
Safety Gear:
- Sturdy work boots
- Safety glasses
- Gloves
- Hard hat (optional)
- Roofing Tools:
- Roofing shovel or flat pry bar
- Hammer or roofing nail puller
- Utility knife
- Nail gun or roofing nails and a hammer
- Ladder or scaffolding
- Tarp or a debris container for shingle disposal
- Roof jacks
6-Step Shingle Removal Process
Knowing how to properly remove roof shingles from your home can help protect your existing roof deck and allow you to avoid injuring yourself. Follow these 6 steps to remove asphalt shingles and start your roofing project!
1) Preparation
Preparation is key for an efficient and smooth shingle removal process. Here are just a few of the things you’ll want to consider before beginning work.
- Ensure favorable weather conditions, avoiding high winds or rain.
- Set up a ladder or scaffolding with a stable footing to access the roof.
- Clear the work area of any debris, ensuring a safe working environment.
- Be sure to protect the area around your home by covering up any shrubbery, trees, or vegetation that you don’t want to damage.
2) Start at the Top
When it comes time to remove all the shingles from your roof, you always want to start at the top of your roof, removing all of the ridge caps and working your way down. You can do this by using a roofing shovel or flat pry bar to lift the roofing shingles. Carefully pry out the nails holding them in place.
3) Clear the Area
As you work your way down the roof, your roof jacks should catch the shingles. Once the shingles have been removed, you can throw them onto a tarp or into a dumpster below. Take care while doing this…shingles are heavier than you would think!
Take the time to sweep the roof deck and remove any stray shingles or loose nails that have been left behind.
4) Inspect Underlayment
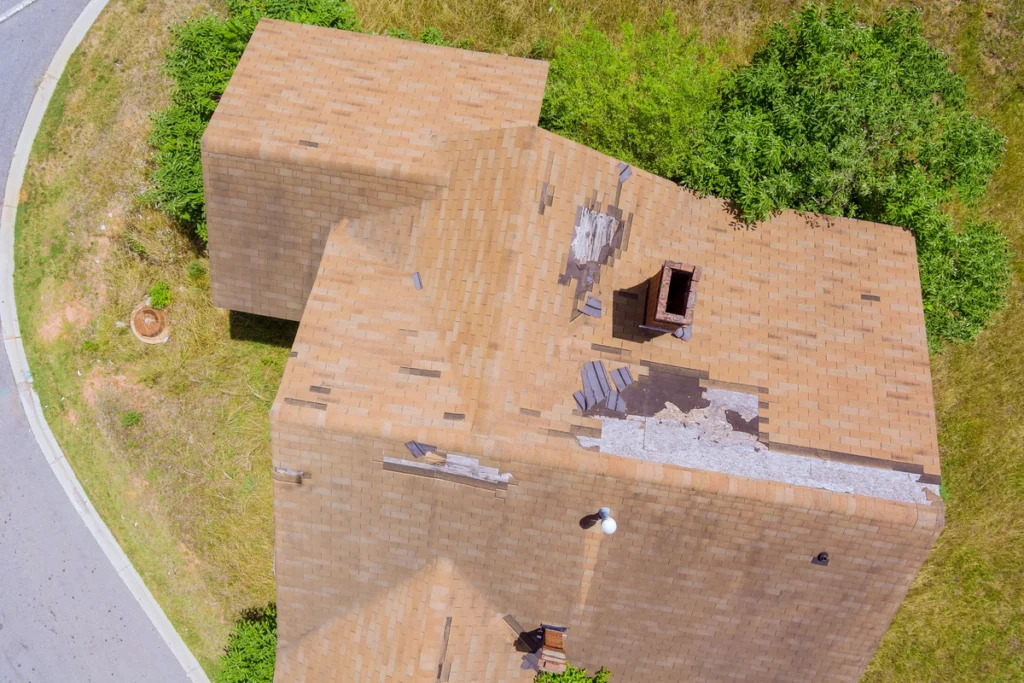
Once the shingles have been removed, it is a good idea to inspect the condition of the underlayment and roof deck. If your roof deck is in good condition, you are all clear to continue to use it. However, if you are spotting signs of water damage or rotting, we recommend contacting your local contractor, as removing a roof deck is serious work.
In general, you’ll want to replace both your ice and water shield and underlayment before installing new shingles.
5) Tarp and Cover
Before climbing down off of the roof, you’ll want to install a tarp to prevent any water damage. Tarps can be purchased at your local hardware store and secured with a few 2x4s and some nails to the surface of your roof. This will help protect it until you are ready to install new shingles.
6) Clean Up
Finish by cleaning up the area, making sure that no loose nails have fallen into your yard and that all of the old shingles and debris have made it into the dumpster.
Signs You Need a Roof Replacement
Knowing when to replace your roof is crucial to avoid further damage. After all, early intervention can prevent structural issues for your whole home! Here are some indicators that may signify the need for a new roof:
- Age: Most asphalt shingle roofs have a lifespan of 20-30 years. If your roof is nearing this age, consider a replacement.
- Visible Damage: This can include excessive curling, cracking, or missing shingles are signs of severe wear and tear. Be sure to also look for granule loss on shingles, which indicates reduced weather protection.
- Leaks: Frequent roof leaks that persist even after repair attempts may indicate a compromised roof system.
- Sagging: A visibly sagging roof may indicate structural damage and requires immediate attention.
- Energy Efficiency: If your energy bills are unusually high, it may be due to an inefficient roof that needs replacement.
When to Hire a Professional
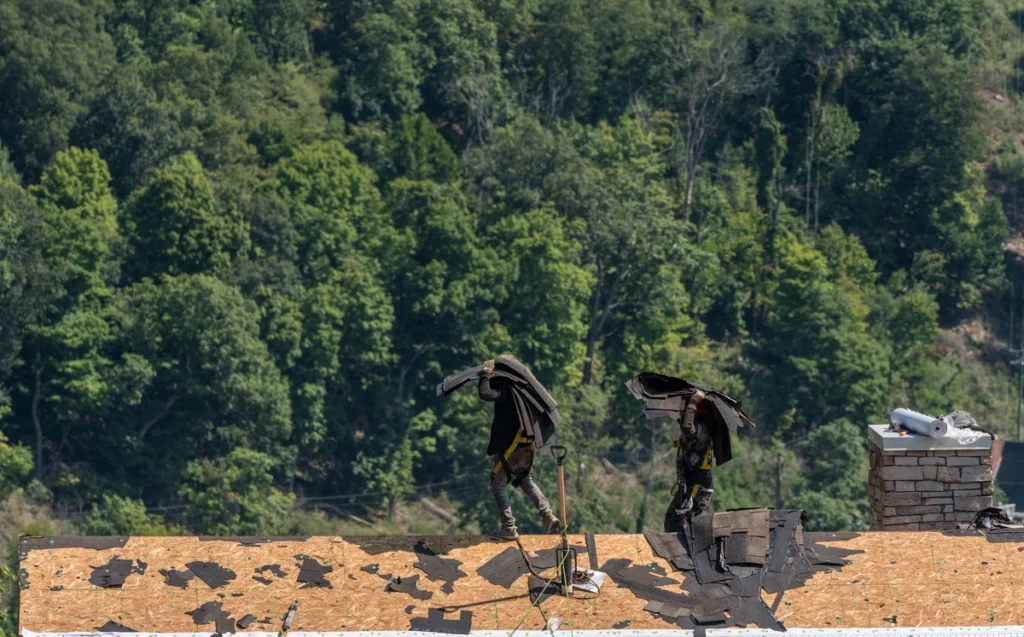
While removing shingles from your roof can be a DIY project, certain situations call for professional expertise. Here are some signs that you should leave it to a roofing pro:
- Extensive Damage: If the damage extends beyond a few shingles involving the underlayment or decking, it’s best to hire a professional.
- Steep or Multi-Story Roofs: Working on steep roofs or multiple stories can be dangerous for untrained individuals. Hiring professionals ensures safety.
- Lack of Experience: If you lack experience or confidence in your abilities, it’s wise to entrust the job to an experienced roofing professional.
- Time and Convenience: Removing shingles can be time-consuming, especially for larger roofs. Hiring professionals saves you valuable time and effort.
Work With a Top Notch Pro!
Feeling overwhelmed, reading all this information? Sometimes, it is best to leave it to a professional roofing contractor. If you’re looking to work with the best of the best, Open Box Roofing is here to help! Our friendly and knowledgeable team is ready to answer any and all of your questions. Contact us today to learn more about our roof replacement services!
