Installing architectural shingles can be an exciting yet challenging DIY project for home improvement enthusiasts. Not only do they enhance the aesthetic appeal of your house, but they also provide better durability and a longer lifespan compared to traditional three-tab shingles.
Today’s blog post is designed to walk you through the step-by-step process of installing architectural shingles, ensuring you get it right the first time. We’ll help you understand:
- The benefits of architectural shingles
- How to install architectural shingles
- The tools you need
Understanding Architectural Shingles
Before we dive into the installation process, let’s take a moment to understand what architectural shingles are and why they are a popular choice among homeowners.
What Are Architectural Shingles?
Architectural shingles, also known as dimensional or laminate shingles, are a type of asphalt roofing material designed to provide a more visually appealing and durable roofing solution. Unlike traditional three-tab shingles, architectural shingles have a multi-layered construction that adds depth and dimension to the roof’s appearance.
⭐️ Benefits of Architectural Shingles ⭐️
Architectural shingles offer several advantages, including:
- Enhanced Aesthetics: These shingles come in various colors and styles, mimicking the look of wood, slate, or other high-end roofing materials.
- Durability: Architectural shingles are thicker and more robust than traditional shingles, making them more resistant to wind, hail, and other weather conditions.
- Longevity: With proper installation and maintenance, architectural shingles can last between 30 to 50 years.
- Improved Resale Value: A well-installed roof with architectural shingles can boost your home’s curb appeal and resale value.
Tools and Materials You’ll Need
Before you begin, gather all the necessary tools and materials to ensure a smooth installation process. Here’s a checklist to get you started:
Tools
- Measuring tape
- Chalk line
- Utility knife
- Roofing nails
- Hammer or roofing nailer
- Pry bar
- Roofing shovel (for removing old shingles)
- Ladder
- Safety harness
- Work gloves
- Roofing adhesive
Materials
- Architectural shingles
- Roofing underlayment (felt or synthetic)
- Drip edg
- Starter strip shingles
- Ridge cap shingles
- Roofing cement
- Roof flashing
Our 7 Step Guide to Installing Architectural Shingles
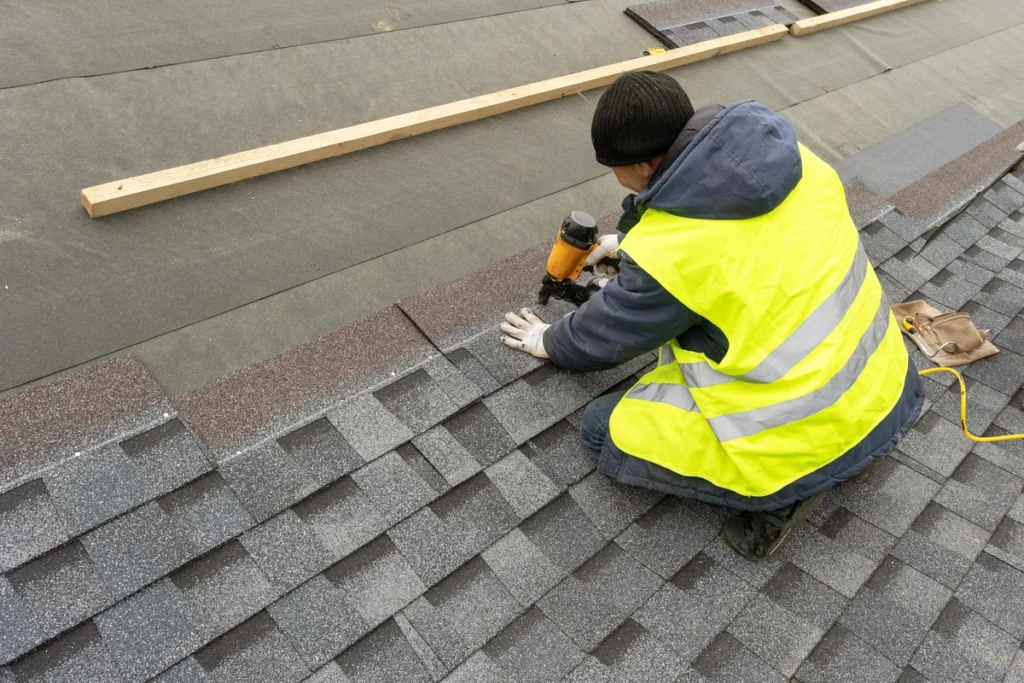
Now that you have your tools and materials ready, let’s get started with the installation process. Follow these steps carefully for a successful DIY roofing project.
Step 1: Prepare the Roof
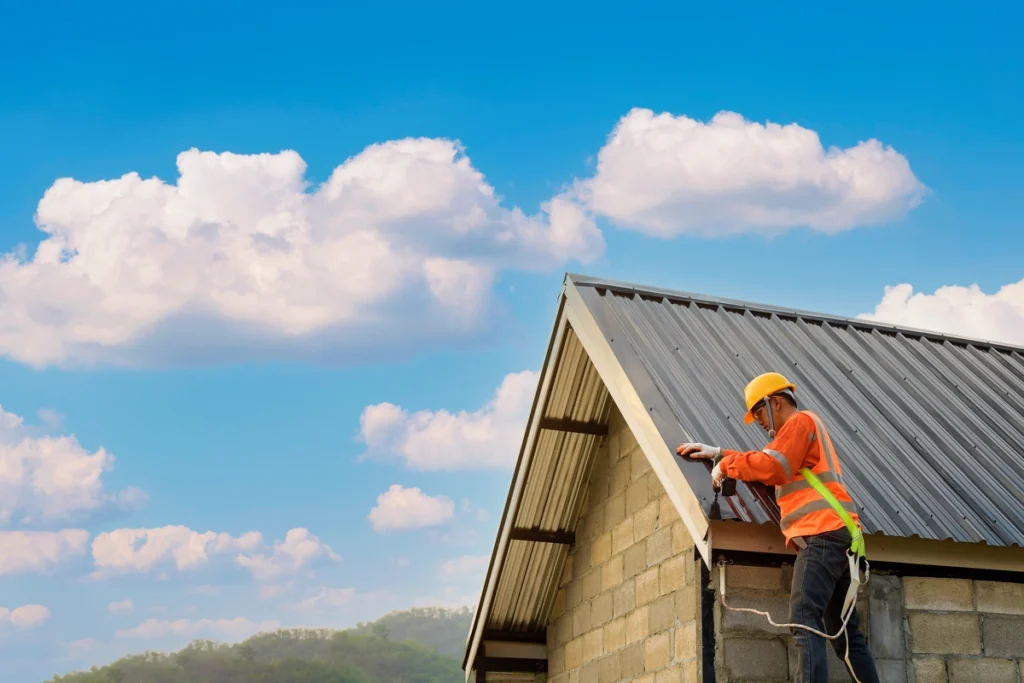
Ensure you have the necessary safety equipment, including a sturdy ladder, safety harness, and work gloves. Always exercise caution while working at heights.
Use a roofing shovel or pry bar to remove the old shingles from the roof. Start from the top and work your way down, being careful not to damage the underlying roof deck. Dispose of the old shingles and any debris properly.
Once the old shingles are removed, inspect the roof deck for any signs of damage or rot. Replace any damaged sections with new plywood to ensure a solid foundation for your new shingles.
Step 2: Install the Underlayment
Select a quality roofing underlayment, either felt or synthetic, to provide an additional layer of protection against moisture. Synthetic underlayment is typically more durable and resistant to tearing.
Starting at the bottom edge of the roof, roll out the underlayment horizontally, ensuring it covers the entire roof surface. Overlap each row by about 4 inches to prevent water infiltration. Secure the underlayment with roofing nails or staples, spacing them approximately 12 inches apart.
Step 3: Install the Drip Edge
Measure the length of the roof edges and cut the drip edge to size using tin snips. The drip edge should extend slightly over the roof’s edge to direct water away from the fascia and into the gutters.
Starting at the bottom edge, attach the drip edge along the eaves using roofing nails. Overlap each section by about 1 inch to ensure a continuous barrier. Install the drip edge along the gable ends in a similar manner.
Step 4: Lay the Starter Strip Shingles
Begin at the bottom edge of the roof, positioning the starter strip shingles with the adhesive side facing up. The starter strip provides a secure base for the first row of architectural shingles.
Nail the starter strip shingles in place, spacing the nails about 6 inches apart. Ensure the strip is flush with the drip edge and extends slightly over the roof’s edge.
Step 5: Install the Architectural Shingles
Start at the bottom edge of the roof and work your way up. Place the first architectural shingle over the starter strip, aligning it with the drip edge. Nail the shingle in place, using four nails per shingle—two near the top and two near the bottom.
Continue laying shingles in horizontal rows, staggering the seams to create a visually appealing pattern. Use a chalk line to ensure each row is straight and even. Overlap each shingle with the one below it, following the manufacturer’s guidelines for the specific shingle type.
When you reach the edges and corners of the roof, use a utility knife to cut the shingles to fit. Be sure to leave a small gap between the shingles and any walls or chimneys to allow for expansion and contraction.
Step 6: Install Roof Flashing
Roof penetrations, such as chimneys, vents, and skylights, require additional protection against water infiltration. Apply flashing around these areas, ensuring it extends under the shingles and over the underlayment.
Use roofing cement to seal the edges of the flashing, creating a watertight barrier. Smooth the cement with a trowel to ensure a secure seal.
Step 7: Add Ridge Cap Shingles
Ridge cap shingles are specially designed to cover the roof’s ridge, providing a polished finish and additional protection. Start at one end of the ridge and work your way to the other, overlapping each shingle by about 5 inches.
Nail the ridge cap shingles in place, using two nails per shingle—one on each side. Be sure to follow the manufacturer’s guidelines for proper installation.
Let Us Install Roof Shingles For You
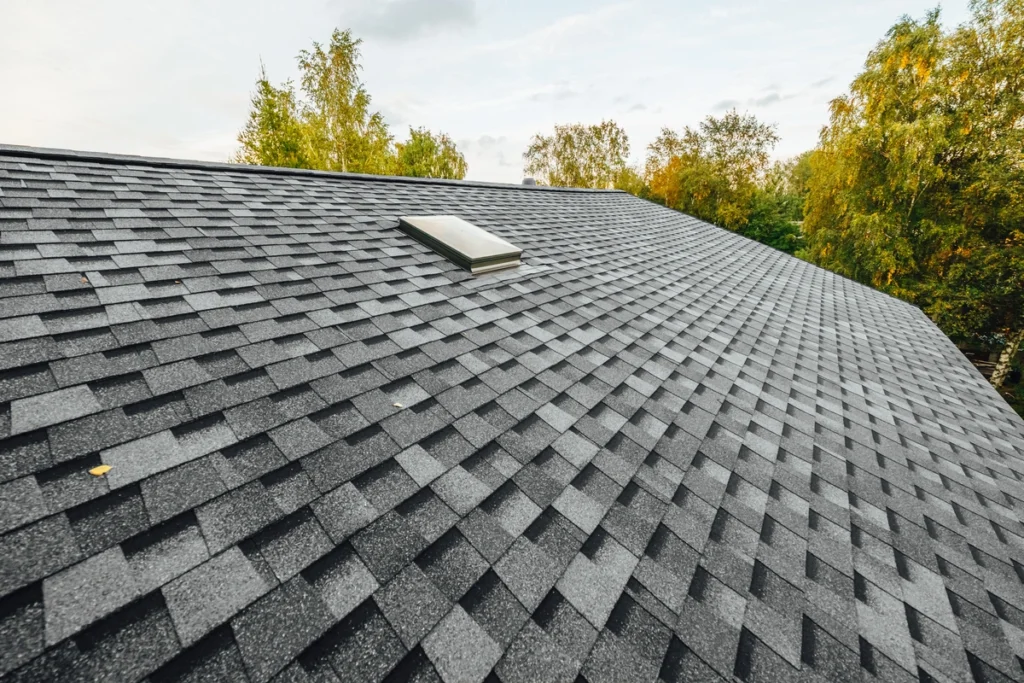
Have we convinced you to try out architectural roof shingles? We think you’ll love your new asphalt shingle roof.
By following this step-by-step guide, you’re well on your way to becoming a DIY roofing pro. However, if you ever feel unsure or encounter challenges during the installation process, don’t hesitate to seek advice from professionals or consult the manufacturer’s instructions for specific guidance.
Contact Open Box Roofing and leave installing roof shingles to your local roofing contractor!

