
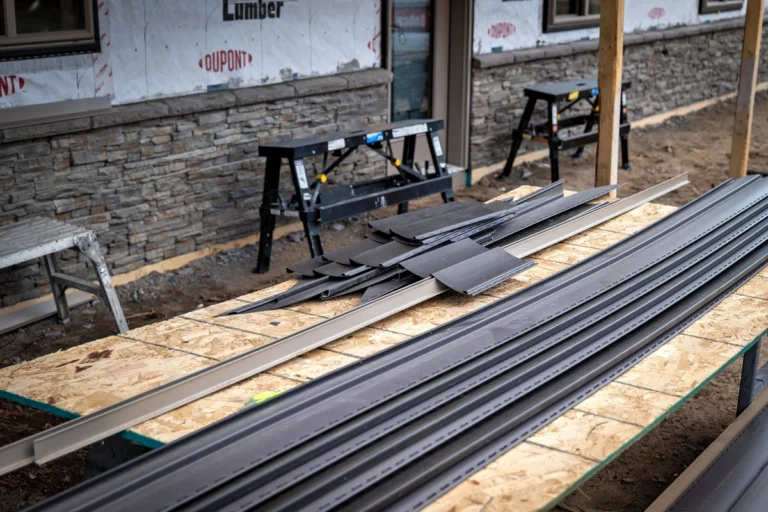
Vinyl siding is a great option for homeowners looking to ramp up their home exteriors without breaking the bank. It comes in a variety of colors and finishes, it’s durable, and it’s actually very easy to install vinyl siding on your home.
Of course, if you’re the type of homeowner that prefers to tackle these types of projects on your own, there’s some essential information you’ll need before you start purchasing materials — such as how to cut vinyl siding properly.
There are three ways to cut vinyl siding:
- Short vertical cuts
- Long vertical cuts
- Horizontal cuts
We’ll explain how it all works below.
How to Cut Vinyl Siding
For DIY home projects that involve cutting, precision makes all the difference. So, if you’re going to tackle vinyl siding on your own, you’re going to need the following tools:
- A circular saw
- Tin snips
- A utility knife
- Safety goggles
- A carpenter’s square
- A straightedge
- Measuring tape
- A pencil
There are specific tools from this list you’ll need for each type of cut.
Long Vertical Cuts
Cutting tool needed: Tin snips
A long vertical cut is easiest to perform using tin snips. They’re also much safer to use and more precise, as a circular saw can be a bit too bulky to maneuver for these types of cuts, which means the finish won’t be as smooth and precise.
How to Make Long Vertical Cuts
- Using your measuring tape, determine exactly where you’ll be cutting your vinyl siding and mark these points clearly.
- From there, line up the point you’ll be cutting with the edge of your table and use the carpenter’s square to ensure the cut is straight and clean.
- Hold the siding steady with one hand while using the other hand and tin snips to make long cuts along the marked areas. Be sure to only close your tin snips about ⅔ of the way — this will ensure that the cuts you make are as straight and clean as possible.
- Snip through the length of the siding until you’ve reached the end, repeating the process on as many other pieces as necessary.
Pro tip: As you snip through the siding, be sure to leave at least two inches of overlap per tab. This will give your panels a seamless look once they’re installed and also help them to prevent drafts during the cooler months.
It’s also a good idea to keep the material that gets cut off together. This will allow you to recheck your work and make it easier to measure for replacement materials later on if needed.
Horizontal Cuts
Cutting tool needed: Utility knife
When you need to trim the vinyl horizontally, tin snips won’t get the job done because the cutting points will be shorter. Therefore, a utility knife is the best option for a precise cut.
How to Make Horizontal Cuts
- Using the measuring tape, measure exactly where the siding needs to be cut so that the panels can easily slide over one another. You’ll need to make two marks on each end of the side panel — one as a starting point and the other as the endpoint.
- Use the straightedge to align your marks and ensure a straight cut.
- Press down on the straightedge to hold the material down firmly. Take the utility knife and score the material by dragging the blade to create a life — but don’t cut all the way through!
- Once the material is scored, you can snap it along the line for a clean break.
- Repeat the process as necessary.
Short Vertical Cuts
Cutting tool needed: Circular saw
Circular saws are perfect for making short, vertical cuts in vinyl siding because they can cut clean, straight lines without leaving behind frayed edges. This is important because frayed edges can cause damage during the sealing process and later on.
- Start by using your measuring tape to calculate the right length for each piece of siding you’ll need. Mark them so you know which way they’ll be facing once installed, including additional details such as “top and “bottom.”
- Be sure to use a fine-toothed cutting blade installed backward to get the cleanest cuts.
- Line up the vinyl siding with the blade guides where you’ll be making the cuts — but don’t start cutting yet. This is just to ensure you’re in a position to make the cleanest cut possible.
- Put on your safety goggles and double-check that the guides line up correctly before you start cutting.
- Using your work table as a guide, start to swag off the excess siding. You can also use the carpenter’s square to ensure accuracy; just be sure to go slow.
- Repeat the process as necessary.
Using this technique will ensure crisp, clean lines each and every time!
What to Do Next
Cutting vinyl siding doesn’t take very long — granted you’ve taken the right measurements. If it’s your first time tackling this kind of project, it’s a good idea to watch a few videos first and have a few practice pieces handy to get used to the tools and techniques.
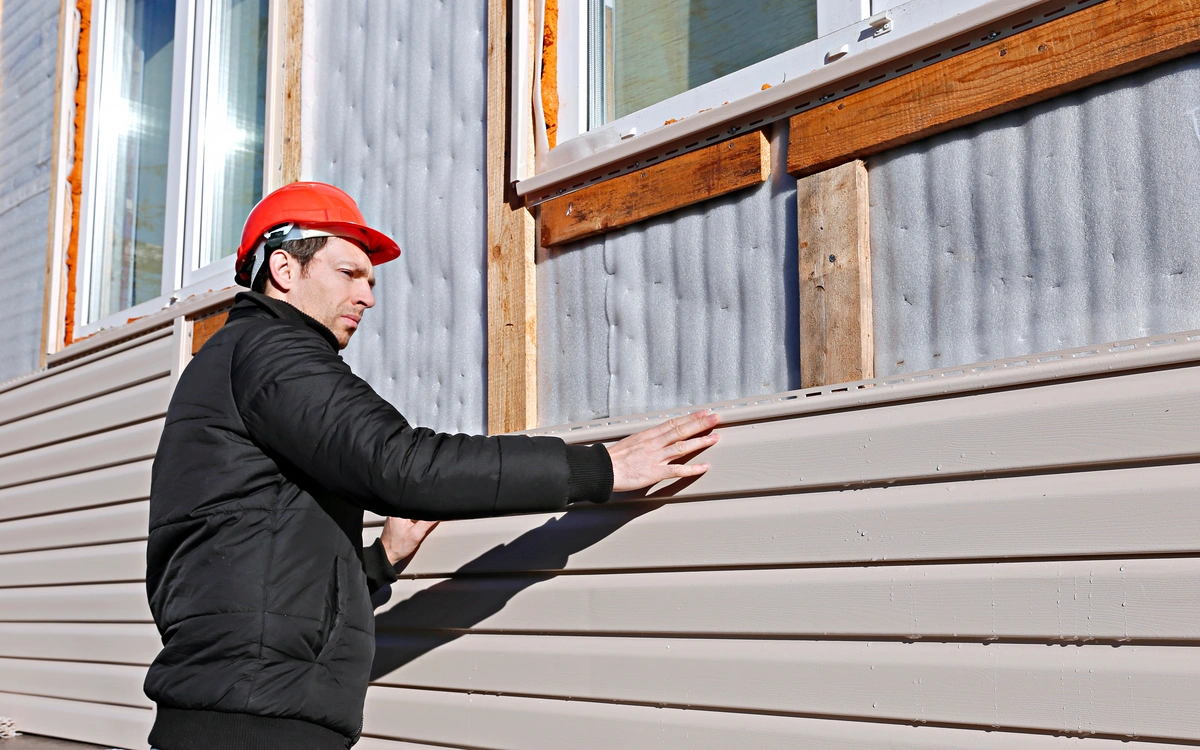
Of course, once you’ve successfully cut your vinyl siding, you’ll need to install it. Installing vinyl siding is an entirely different process that involves removing your old siding, disposing of refuse material, and more. It’s a much bigger job than most homeowners think, which is why it’s always a good idea to leave it up to the professionals.
OpenBox Roofing also specializes in siding replacement. Our certified vinyl installers will ensure that you get high-quality materials cut and installed with the precision and accuracy that’ll leave your home’s exterior refreshed and beautiful. Get in touch with us today to learn more about our services and financing options!