A ceiling leak can be a homeowner’s worst nightmare, signaling potential damage to your property and the need for immediate attention. From ominous water stains to the dreaded drip-drip-drip, the signs of a ceiling leak are unmistakable.
We’re here to help! In this guide, we’ll explore everything you need to know about identifying, addressing, and repairing a ceiling leak, including:
- How to locate the source of the leak
- When to call a professional
- Immediate repair tips
Signs That Your Ceiling is Leaking
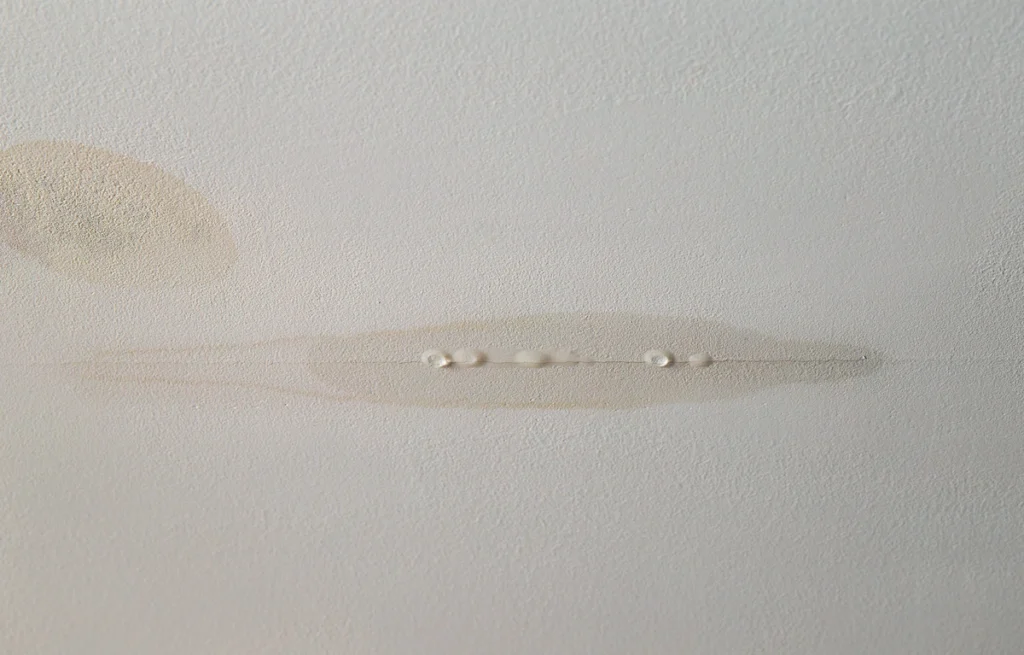
Not sure if your ceiling is actually leaking? Here are some signs to look out for:
- Water Stains: Water stains on your ceiling are perhaps the most obvious sign of a leak. They often appear as discolored patches or streaks and may spread over time if left untreated.
- Dripping Water: If you notice water dripping from your ceiling, it’s a clear indication of an active leak. This can range from a steady drip to a more sporadic trickle, depending on the severity of the leak.
- Bubbling or Peeling Paint: Moisture from a ceiling leak can cause paint to bubble or peel away from the surface. Keep an eye out for any unusual changes in the appearance of your ceiling.
- Sagging Ceiling: In severe cases, prolonged exposure to water can cause the ceiling to sag or bulge. This is a sign of significant water damage and should be addressed immediately to prevent further structural issues.
Common Causes of a Leaking Ceiling
Ceiling leaks can be caused by a variety of factors, including:
- Roof Damage: A damaged or aging roof is one of the most common causes of ceiling leaks. Missing shingles, cracked flashing, or deteriorating sealant can allow water to seep into your home.
- Plumbing Issues: Leaking pipes or fixtures located above the ceiling can also lead to water damage. This can be particularly problematic if the leak goes unnoticed for an extended period, causing widespread damage.
- Condensation: In areas with high humidity, condensation can form on the ceiling and eventually lead to leaks. Poor ventilation exacerbates this issue, making it essential to address any ventilation problems promptly.
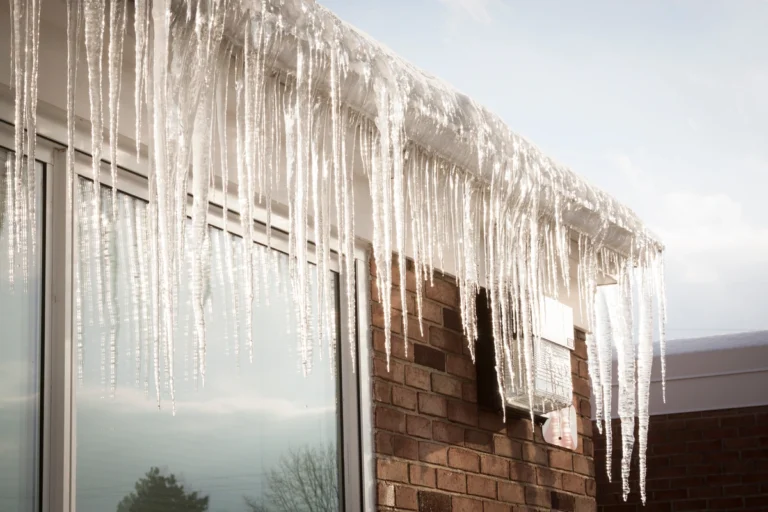
- Ice Dams: In colder climates, ice dams can form on the roof, preventing melting snow from properly draining away. This trapped water can then seep into the home, causing leaks and water damage.
How to Find the Source of the Leak
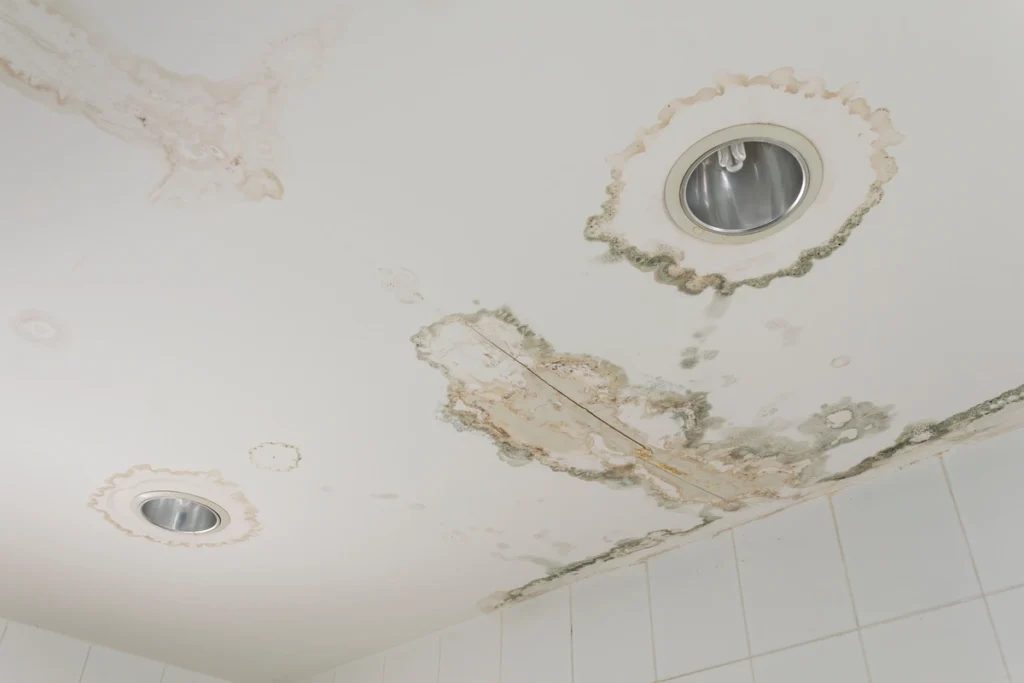
If you suspect you have a ceiling leak, finding the source of the leak is key. Here are some tips for finding the damage….fast!
1) Inspect the Attic:
Start by examining the attic for any signs of water intrusion. Look for wet insulation, water stains on rafters or joists, and visible holes or gaps where water could be entering.
2) Check Roofing Materials:
Carefully inspect the roof for missing or damaged shingles, cracked flashing, or gaps around vents and chimneys. These areas are common entry points for water and should be addressed promptly.
3) Examine Plumbing Fixtures:
If the leak is suspected to be plumbing-related, check for signs of moisture around pipes, fittings, and fixtures. Pay close attention to areas where pipes penetrate the ceiling or walls.
4) Use a Hose Test:
If the source of the leak is not immediately apparent, consider conducting a hose test. Have someone spray water on different sections of the roof while you monitor the ceiling for signs of leakage indoors.
What to Do When You Discover a Ceiling Leak
So, you have a leaking ceiling. What steps should you take next? Here’s what the pros do:
- Contain the Leak: Place buckets or containers beneath the leak to catch dripping water and prevent further damage to your home. You may also need to use towels or tarps to protect furniture and flooring.
- Address Immediate Concerns: If the leak is severe or posing a safety hazard, such as electrical issues or structural damage, evacuate the affected area and contact emergency services if necessary.
- Document the Damage: Take photographs or videos of the leak and any resulting damage for insurance purposes. This documentation will be valuable when filing a claim and seeking reimbursement for repairs.
- Contact a Professional: While you may be tempted to tackle the repair yourself, it’s often best to enlist the help of a qualified contractor. They can assess the extent of the damage and recommend the appropriate course of action.
How a Ceiling Leak is Repaired: 4 Key Steps
Are you curious about how your roofing contractor will handle your roof leaks? We’ve compiled all of the steps that they will take, for you!
1) Identify and Address the Source:
The first step in repairing a ceiling leak is to identify and address the source of the problem. Whether it’s patching a hole in the roof or fixing a leaking pipe, addressing the root cause is essential to prevent future leaks.
2) Dry Out Affected Areas:
Once the source of the leak has been fixed, it’s crucial to dry out any affected areas to prevent mold and mildew growth. This may involve using fans, dehumidifiers, or professional drying equipment.
3) Repair Water Damage:
Depending on the extent of the damage, repairs may be needed to restore the ceiling to its original condition. This can include replacing damaged drywall, insulation, or ceiling tiles.
4) Paint and Finish:
Once repairs are complete, the ceiling may need to be repainted or finished to blend seamlessly with the surrounding area. This final step not only restores the aesthetic appeal of the ceiling but also helps protect against future damage.
The Cost of Roof Leak Repairs
The cost of repairing a ceiling leak can vary widely depending on several factors, including the extent of the damage, the materials needed for repairs, and the contractor’s rates. In general, minor repairs such as patching a small roof leak or fixing a leaking pipe may cost a few hundred dollars. However, more extensive repairs, such as replacing damaged drywall or addressing structural issues, can cost several thousand dollars or more.
Whether or Not Insurance Will Cover Repairs
Whether or not your homeowners insurance will cover the cost of ceiling leak repairs depends on the specific circumstances of the leak and your insurance policy. In most cases, sudden and accidental leaks caused by events such as storms or burst pipes are covered by standard homeowners insurance policies. However, gradual leaks or those resulting from neglect or lack of maintenance may not be covered. It’s essential to review your policy carefully and contact your insurance provider to determine coverage and file a claim if necessary.
How to Find a Quality Contractor to Help
Your roof deserves the best! Here are some ways to find a roofing contractor who you can rely on:
- Ask for Recommendations: Start by asking friends, family, or neighbors for recommendations. Word-of-mouth referrals are often a reliable way to find a trustworthy contractor with a proven track record of quality work.
- Check Credentials: Before hiring a contractor, be sure to check their credentials, including licenses, certifications, and insurance coverage. This helps ensure that you’re working with a reputable professional who meets industry standards.
- Request References: Don’t hesitate to request references from past clients or examples of previous work. This allows you to assess the contractor’s workmanship and customer satisfaction before making a decision.
- Get Multiple Quotes: Obtain quotes from multiple contractors to compare prices and services. Keep in mind that the lowest bid isn’t always the best option; consider factors such as experience, reputation, and warranty offerings when making your decision.
Emergency Repairs For Your Home
Dealing with a ceiling leak can be a stressful and challenging experience, but with the right knowledge and assistance, you can address the issue effectively and prevent further damage to your home.Don’t let the problem get worse! Instead, call Open Box Roofing today for speedy and reliable repairs for your home.

