If you’re a homeowner facing the daunting task of installing a new roof, this Roofing 101 guide is here to help! In this beginner-friendly article, we will walk you through essential information about signs your roof needs replacing, roofing materials to consider, and basic steps for DIY roof installation.
With our comprehensive introduction to roofing basics, you’ll be well-equipped to decide whether to embark on a DIY project or which roofing industry best fits your needs.
Key Takeaways
- Basic steps for DIY roof replacement include removing old composite shingles, installing a drip edge and underlayment/felt paper, and installing new shingles in a staggered pattern while securing them with nails or adhesive.
- Seeking assistance from professional roofing contractors can ensure the correct removal of old roofing materials and proper installation techniques like drip edges are used for better protection against weather damage and time-efficient completion.
- Regularly inspecting your property’s roofing system is important in identifying any issues on time before they escalate into bigger problems requiring full-scale replacement.
Signs Your Roof Needs Replacement
It’s not always easy to tell when you need to replace your roof, but a few key signs indicate the time has come. They include:
- Cracked Shingles – Whether it’s storm damage, extreme temperatures, or age, cracked shingles are a common sign that your roof needs replacing. You can use visual inspection to look for any cracked shingles or missing roof tiles.
- Water Damage – Leaks, water stains, and mildew can indicate underlying issues on your property’s roof. If these signs of water damage persist after basic repairs and maintenance, a full roof replacement is likely necessary.
- Missing Shingles – If you spot any missing shingles on your roof, they need to be replaced as soon as possible. This can prevent further water damage and save you from costly long-term repairs.
- Sagging Roof Decking – If your roof is sagging or drooping, it’s likely due to moisture build-up within your roof’s decking or roof sheathing. A sagging roof requires immediate repair or replacement for structural integrity and safety.
- Rust, Corrosion, or Moss – Rust, corrosion, and moss buildup can indicate moisture buildup within your roof’s decking. These signs need to be addressed before the problem becomes worse.
- Frequent Repairs – If you are constantly repairing your property’s roof system, this could indicate that the basic roofing components have already reached the end of their life cycle and need replacing.
By considering these signs of roof damage, you can decide whether to go for a repair or replacement for your roofing project. It is important to consult a professional roofer if you are unsure of any signs you see. They can take on thorough roof inspections such as visual, thermal, and moisture scanning to help you make the right decision.
Basic Steps for Roof Replacement
The basic steps for roof replacement include removing the old roof, installing drip edge, laying out underlayment and felt paper, and installing a new asphalt shingle roof.
Check out a complete analysis of Roofing 101: steps for roof replacement:
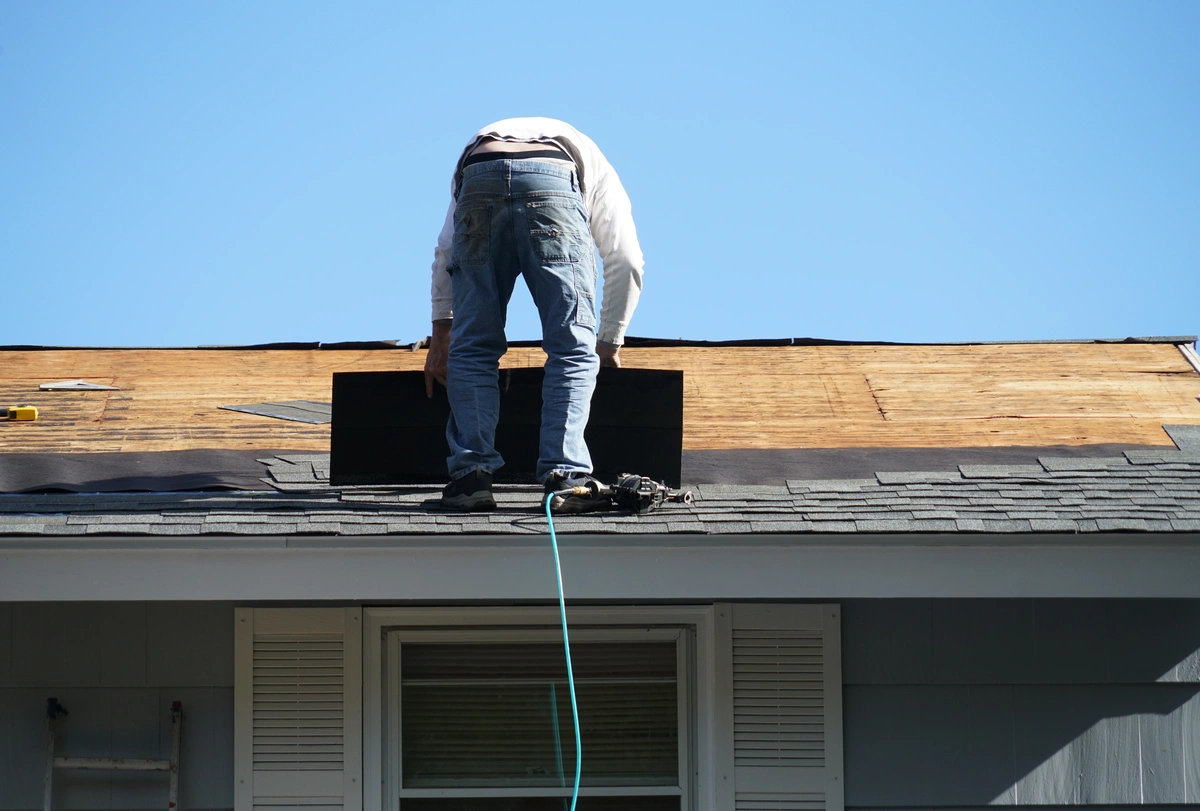
Removing Old Roof
This process allows for a clean slate, which ensures the proper installation of new materials and prevents any unforeseen damage from being covered up.
Removing old roofing material may seem overwhelming, but it can be done efficiently with the right tools and knowledge. It’s essential to wear proper safety gear and follow specific precautions when removing old asphalt roof shingles to prevent accidents or injury.
Additionally, if you’re unsure about tackling this step yourself, seeking the help of a roofing company may be necessary to ensure that it’s done correctly.
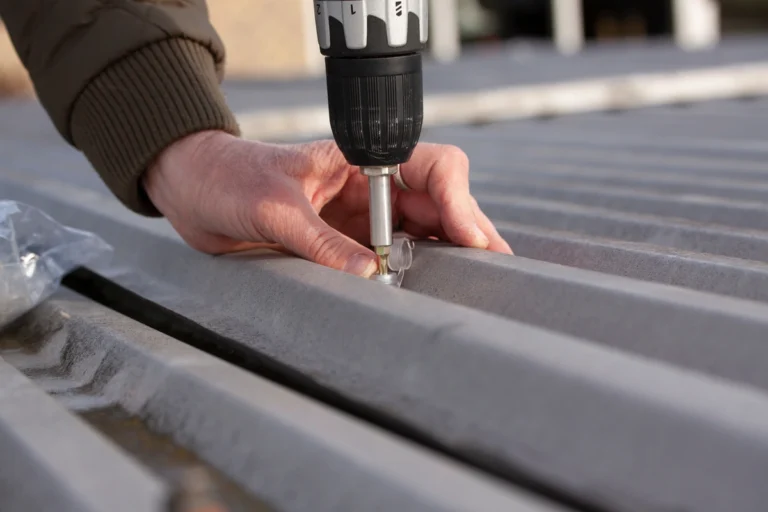
Installing Drip Edge
Installing a drip edge is an essential part of any roof replacement project. It’s a thin piece of metal flashing installed at the bottom of the roof, under the shingles, and on top of the underlayment.
To install a drip edge, you’ll need to measure how much material is needed for each side of your roof and then cut it to size. After cutting, nail down one section at a time using roofing nails every 12 inches along the top flange (the part underneath should remain unnailed).
Remember that without proper installation techniques like drip edges, roofs may not last as long as possible with better protection methods.
Laying Out Underlayment and Felt Paper
Underlayment is a waterproofing layer that provides an extra barrier between the shingles and the roof deck, protecting your home from moisture damage.
When installing underlayment, it’s important to pay attention to detail. Each roll should overlap at least four inches with adjacent rolls, creating a watertight seal around nail holes.
A roofing contractor uses various types of underlayment, such as synthetic polymer-based materials like polyester and fiberglass fabrics for enhanced strength or asphalt-saturated organic felts for durability.
Installing New Shingles
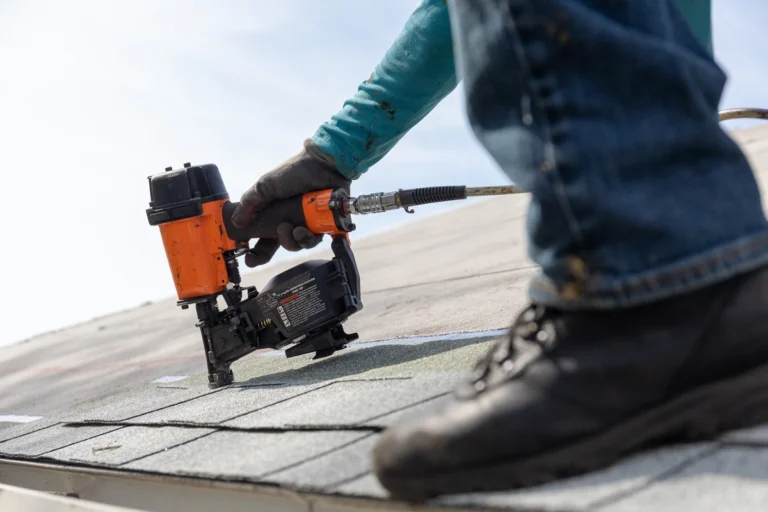
Installing new shingles is a crucial part of roof replacement. It involves laying down the outermost layer of protection against weather damage, providing aesthetic appeal and functionality.
Asphalt shingles are one of the most common roofing materials you can use for their long-lasting durability and affordability. Proper installation includes creating an even base with underlayment, installing each shingle in a staggered pattern, and securing them with nails or adhesive.
Once installed correctly, asphalt shingles can last up to 20 years, depending on specific factors such as climate conditions and maintenance.
Post Installation Inspection
Inspecting the completed roof replacement job for any potential issues that may have been missed is essential. Doing so will help you identify and fix problems before they become major concerns.
You can check the roof’s condition by visually inspecting for any loose or missing shingles, ensuring all nails are correctly secured and sealed, and evaluating any signs of water damage. Contact a professional roofer immediately if you spot any issues during your post-installation inspection.
Conclusion
Replacing a roof may seem daunting, but it can be done successfully with the right knowledge and tools. By identifying these roofing 101 signs of damage and following basic steps for replacement, homeowners can save time and money while protecting their homes from leaks and other roofing problems.
Whether choosing to hire a reliable roofing business or tackle the job themselves, understanding roofing basics is essential for any homeowner. With resources such as DIY guides and expert advice on materials and processes available online, anyone can feel confident taking on this vital project.
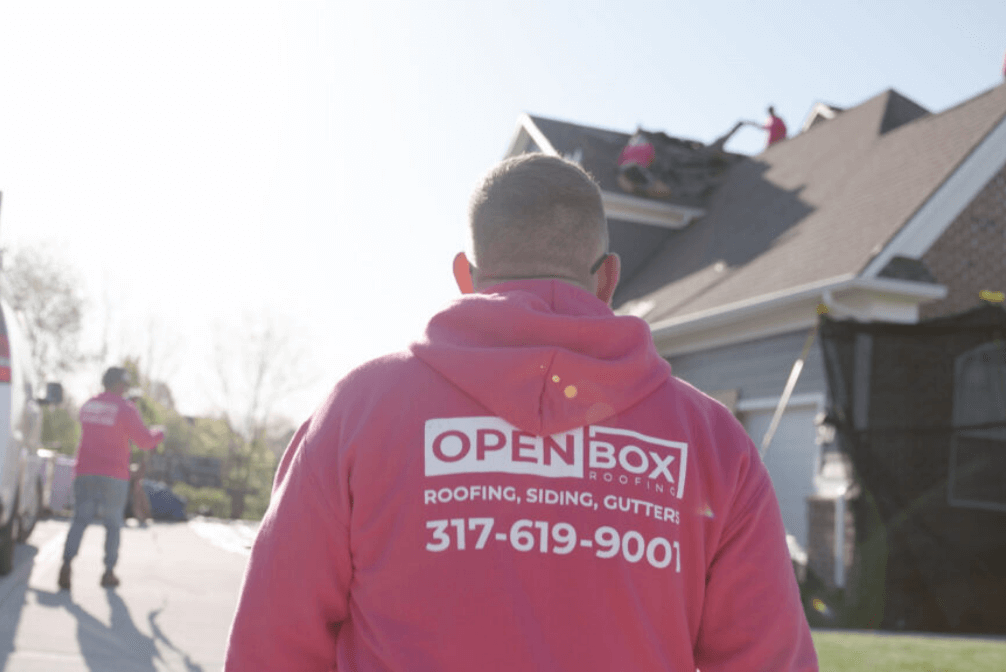
Contact us today for professional help.